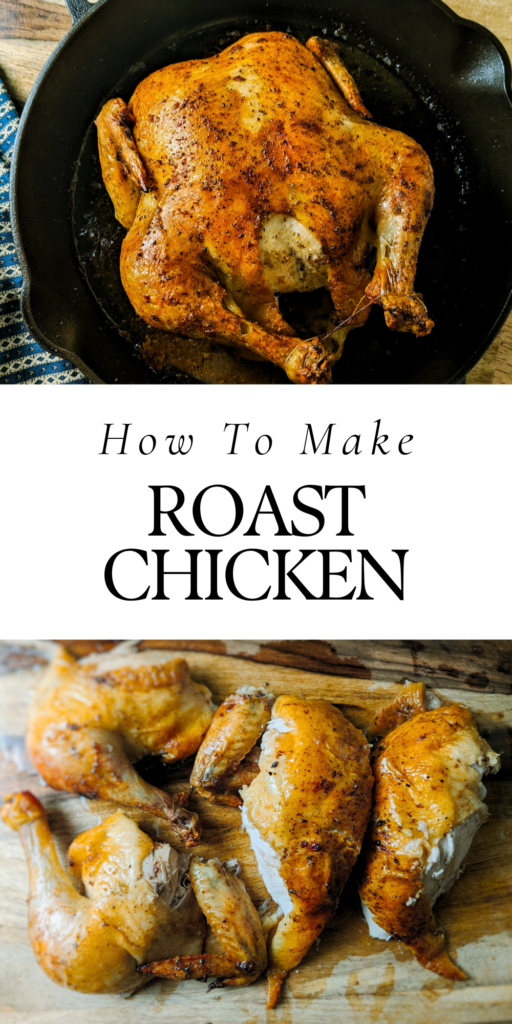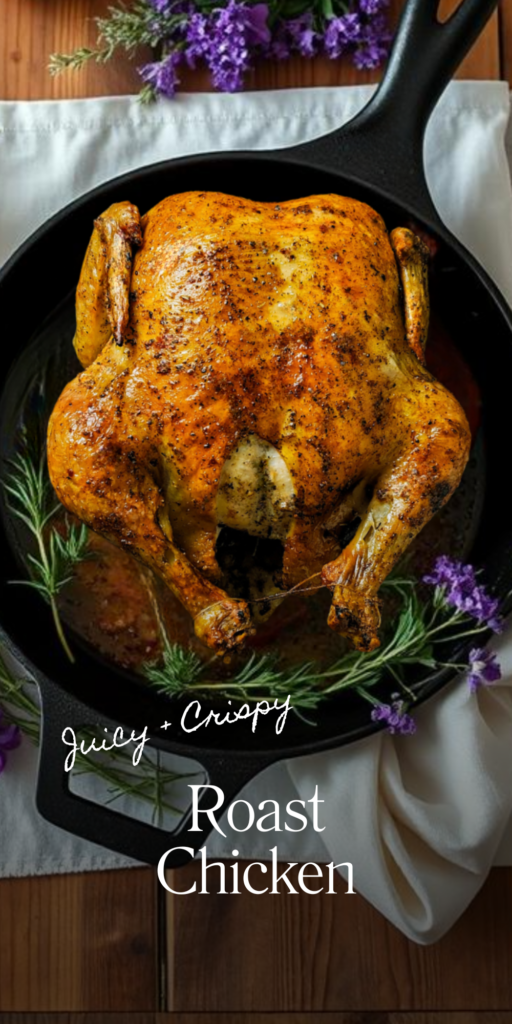
Roast a whole chicken at home with this step-by-step guide.
Roasting a chicken is one of the simplest and most satisfying ways to create a crowd-pleasing meal. The crispy skin, tender meat, and rich flavor can make it the star of any dinner table. Whether you’re hosting guests or cooking for your family, this guide will walk you through the process of making a mouthwatering chicken roast.
1. Choose the Right Chicken
Start by selecting a fresh, high-quality chicken. Opt for a whole bird between 3-5 pounds, as this size ensures even cooking. Organic or free-range chickens usually have better flavor and texture, making them worth considering. Check the packaging for freshness dates to avoid any unpleasant surprises.
2. Prepare the Chicken
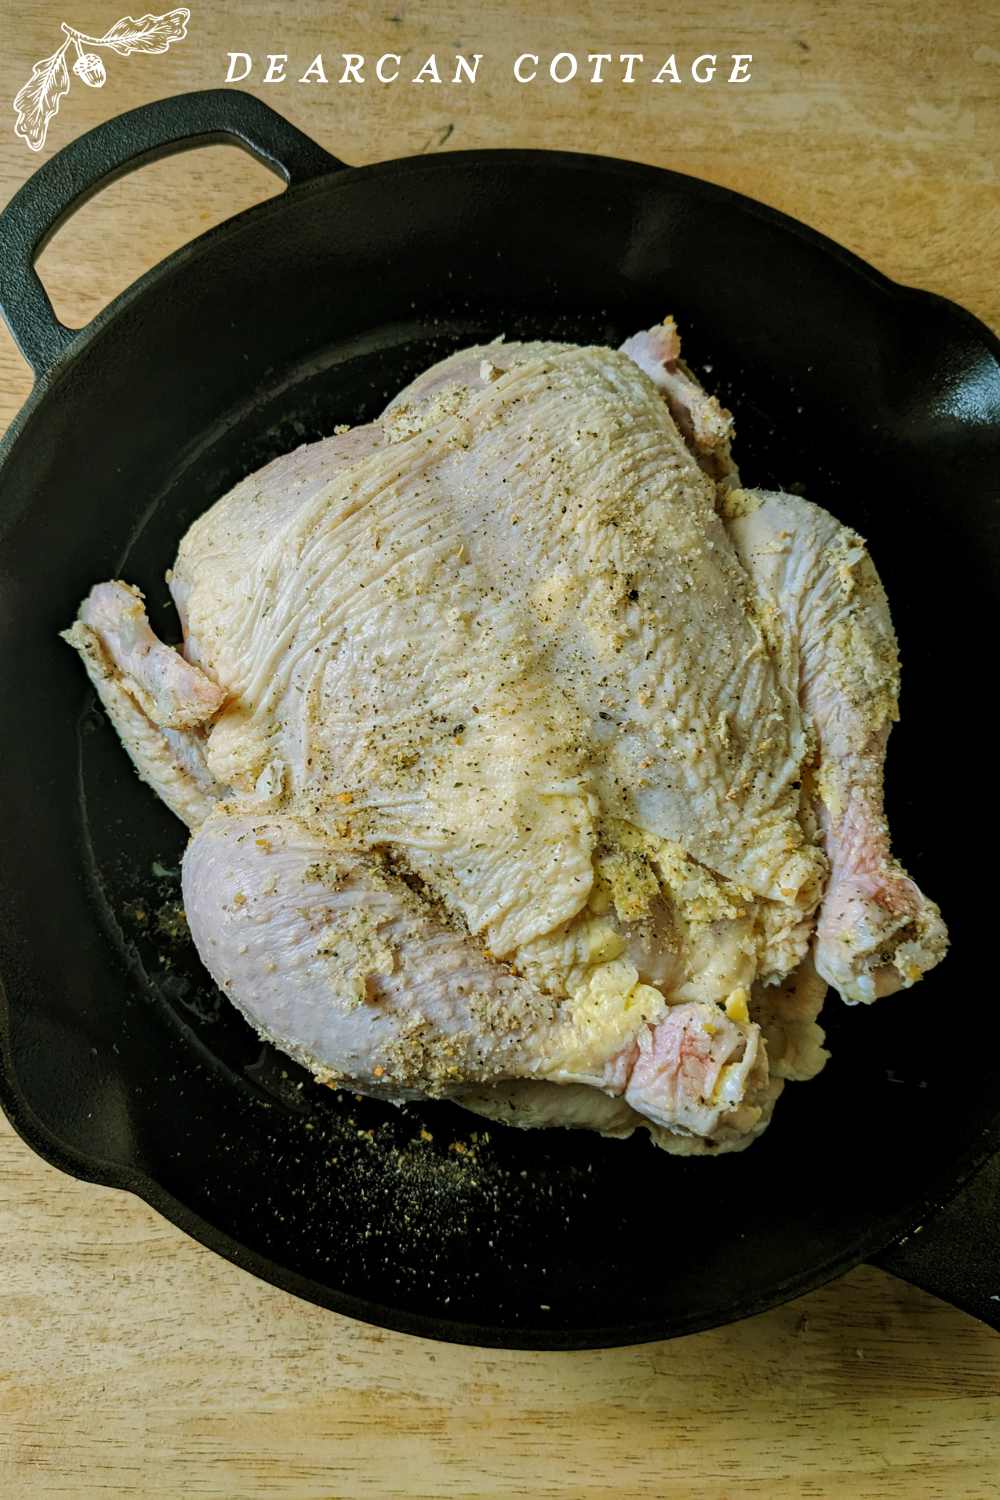
Remove the chicken from its packaging and take out the giblets (usually in the cavity). Rinse the chicken inside and out with cold water; then pat it dry with paper towels. Drying the bird thoroughly helps the skin crisp up during roasting. Trim any excess fat or leftover feathers while you’re at it.
3. Season Generously
Seasoning is key to bringing out the best flavor. Rub the bird inside and out with olive oil, melted butter, or a mix of both. Then, sprinkle salt, pepper, and your favorite spices or herbs all over. Garlic powder, paprika, rosemary, and thyme are classic options. Don’t forget to season inside the cavity, too.
Essential Seasonings and Herbs
Classic seasonings make all the difference. At a minimum, you’ll need kosher salt and freshly cracked black pepper. From there, you can build layers of flavor:
- Garlic (fresh cloves or powder) for a deeper zest.
- Thyme, rosemary, and sage bring earthy, fresh fragrance.
- Lemon adds brightness and enhances the chicken’s natural flavors.
- For extra flavor, include paprika or chili flakes if you like a bit of heat.
Aromatics, like onions or whole garlic bulbs, can also be added for a more complex taste.
4. Stuff the Cavity (Optional)
For extra flavor, consider adding aromatics like a halved lemon, a few garlic cloves, and fresh herbs (rosemary, thyme, or parsley) to the cavity. This step is optional but adds depth to the flavor of the chicken and the drippings, which can be used for gravy.
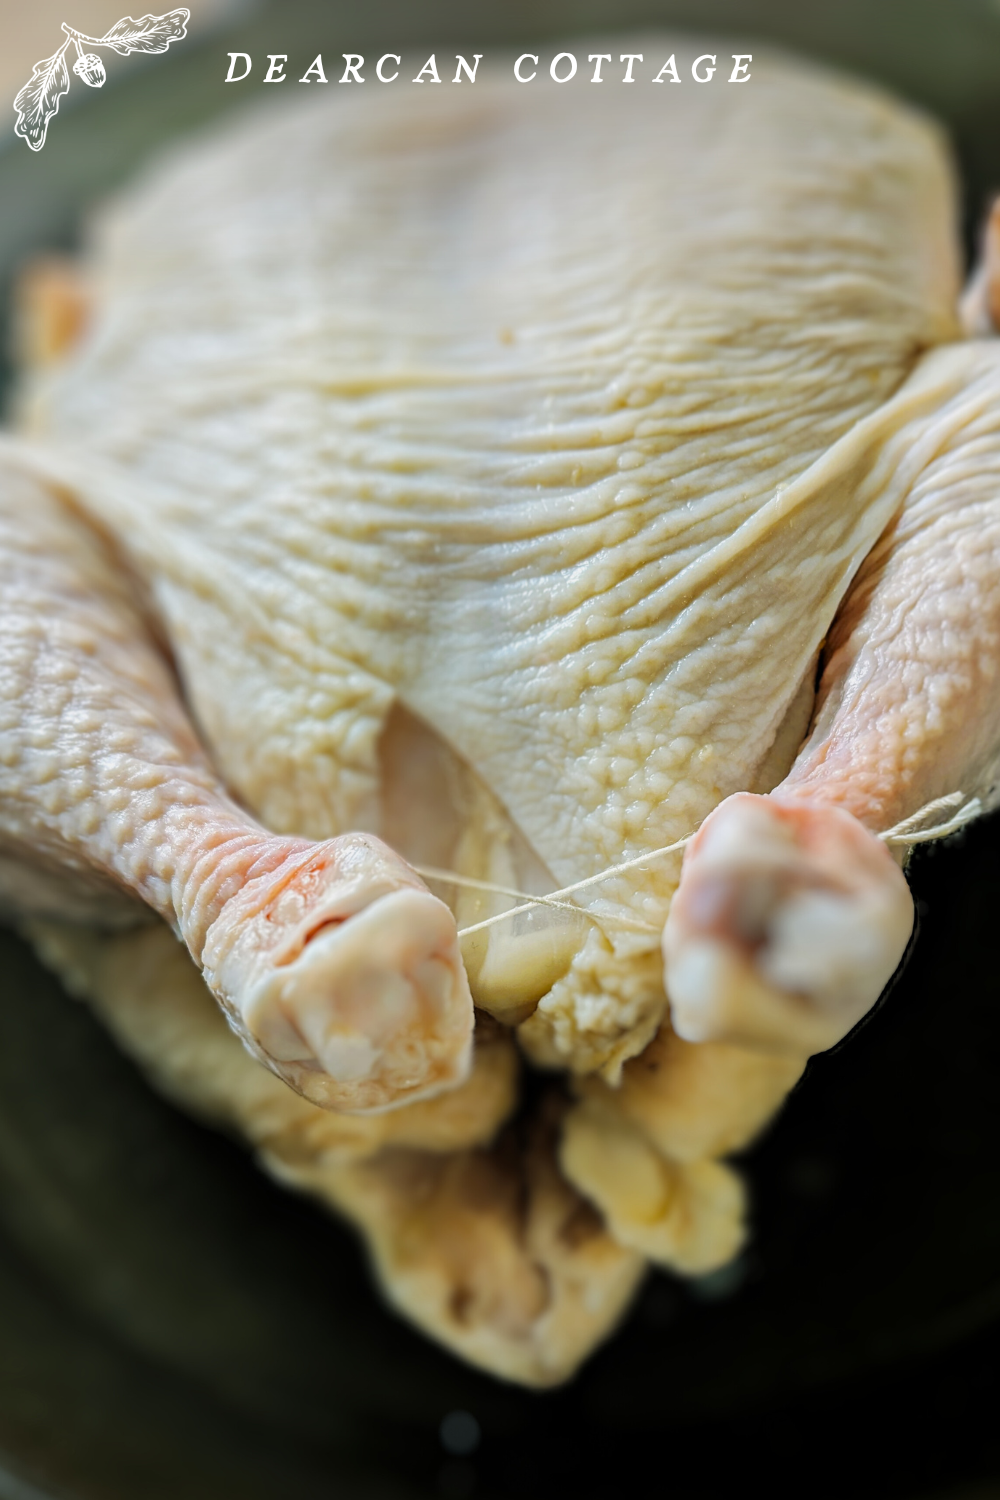
5. Truss the Chicken
Trussing means tying the legs together with kitchen twine. This step helps the chicken cook evenly and retain moisture. While not required, it improves the final presentation and prevents the wings and legs from overcooking.
6. Preheat the Oven and Prepare the Pan
Preheat your oven to 425°F (220°C). While the oven heats, prepare a roasting pan or a baking dish with a rack. Place the chicken on the rack breast-side up; this position allows the juices to flow down and keep the entire bird moist. If you don’t have a rack, you can line the bottom of the pan with chopped vegetables like carrots, onions, and celery. These veggies not only prop up the chicken but also soak up its delicious juices.
7. Roast the Chicken
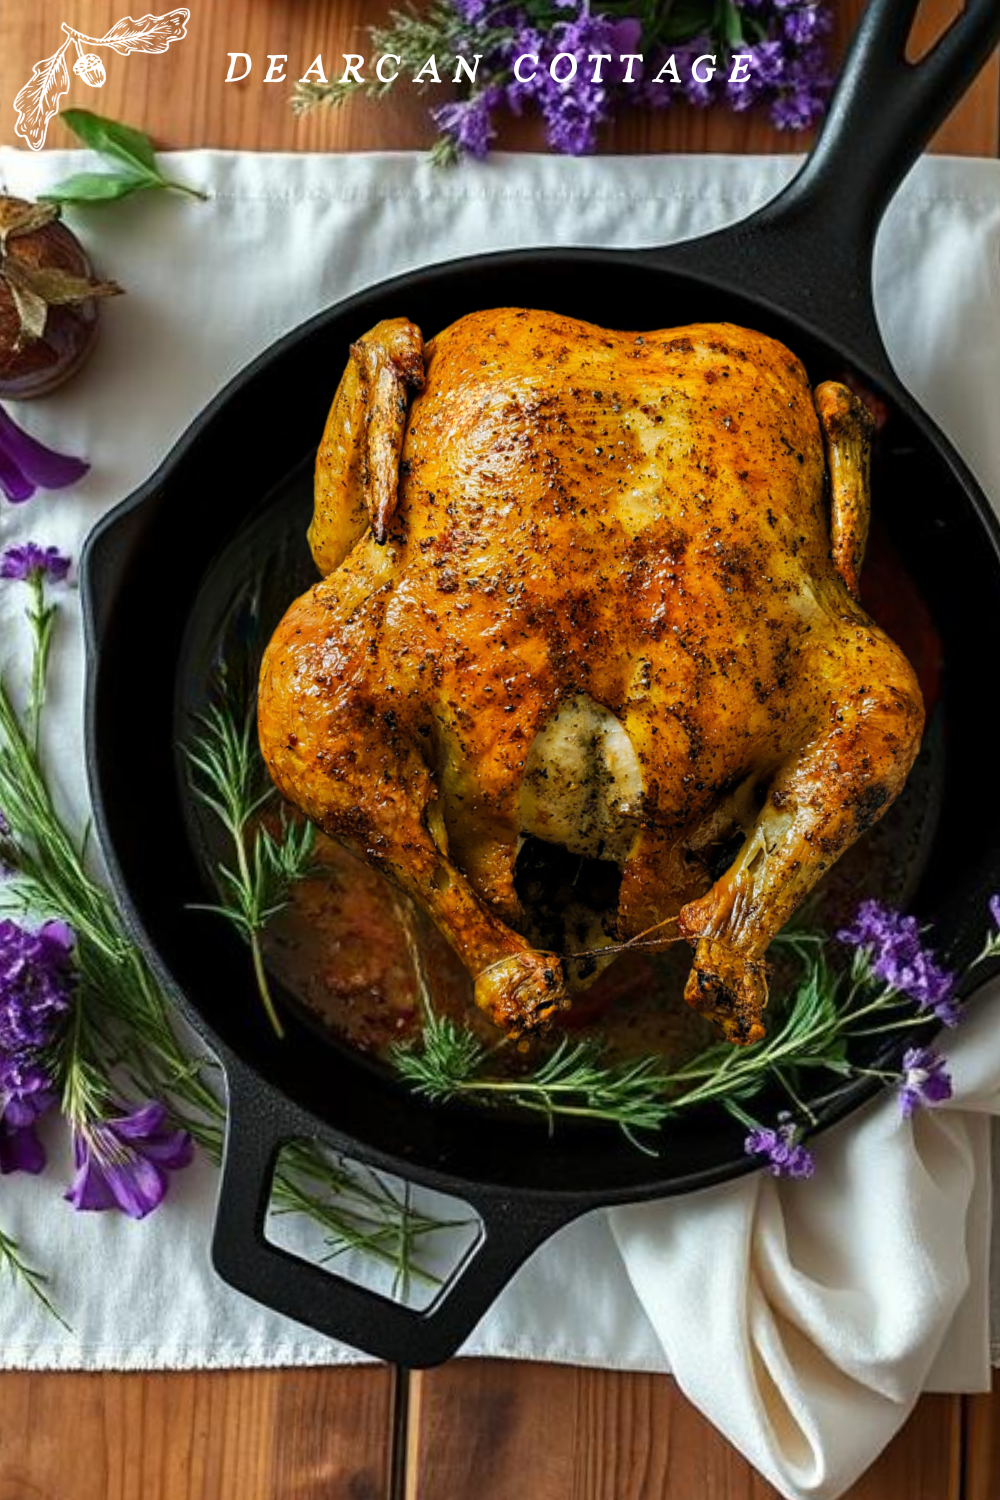
The temperature you choose sets the tone for the final dish. A common method is roasting at 425°F for crispy skin and juicy meat, which usually takes about 1 hour and 20 minutes for a 4-5 pound bird. Alternatively, you can opt for a slower roast at 350°F for slightly longer.
If you’re feeling bold, try starting at a high heat (450°F) for the first 20 minutes to brown the skin, then lowering to 375°F to cook through.
The general rule is to roast 20 minutes per pound, but always rely on a meat thermometer to ensure doneness.

8. Baste The Roast Chicken (For Crispy Skin and Moist Insides)
Basting (spooning pan juices over the chicken) helps keep the meat moist but don’t overdo it. Too much basting can make the skin soggy. Baste every 20-30 minutes during roasting—any more and you’ll lose too much oven heat.
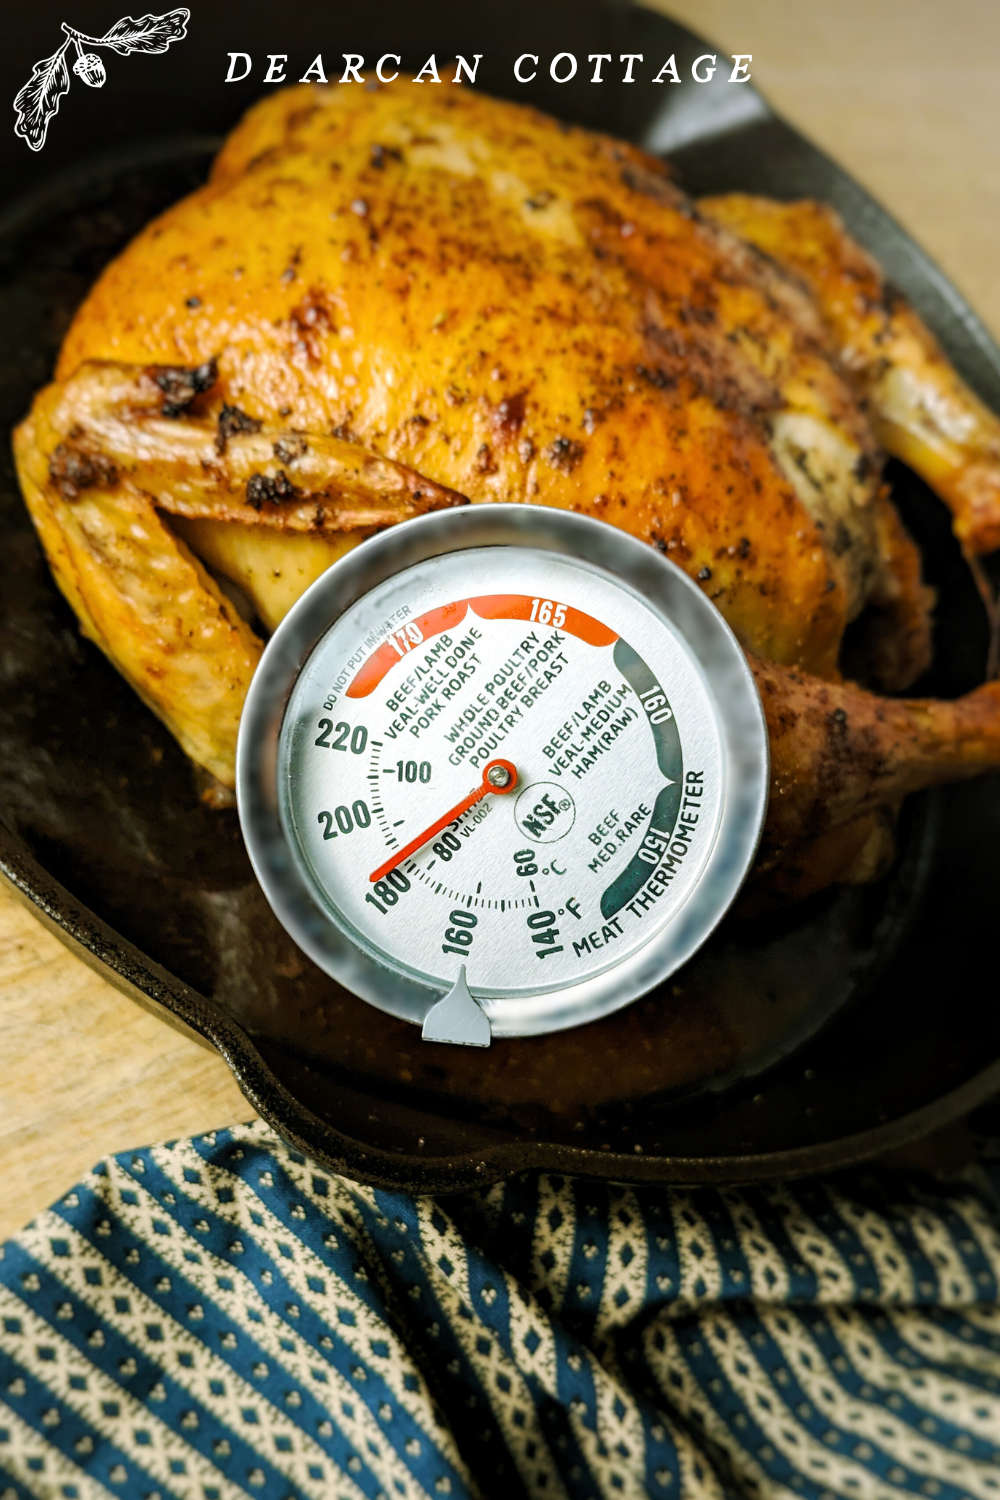
9. Check To See If It’s Done
Insert a meat thermometer in the thickest part of the breast—it should reach 165°F—and in the thigh, aiming for 175°F. Checking the temperature ensures you avoid dry meat or the dreaded undercooking. Juices should run clear, not pink. If you don’t have a thermometer, pierce the thigh with a knife; clear juice is a good indicator.
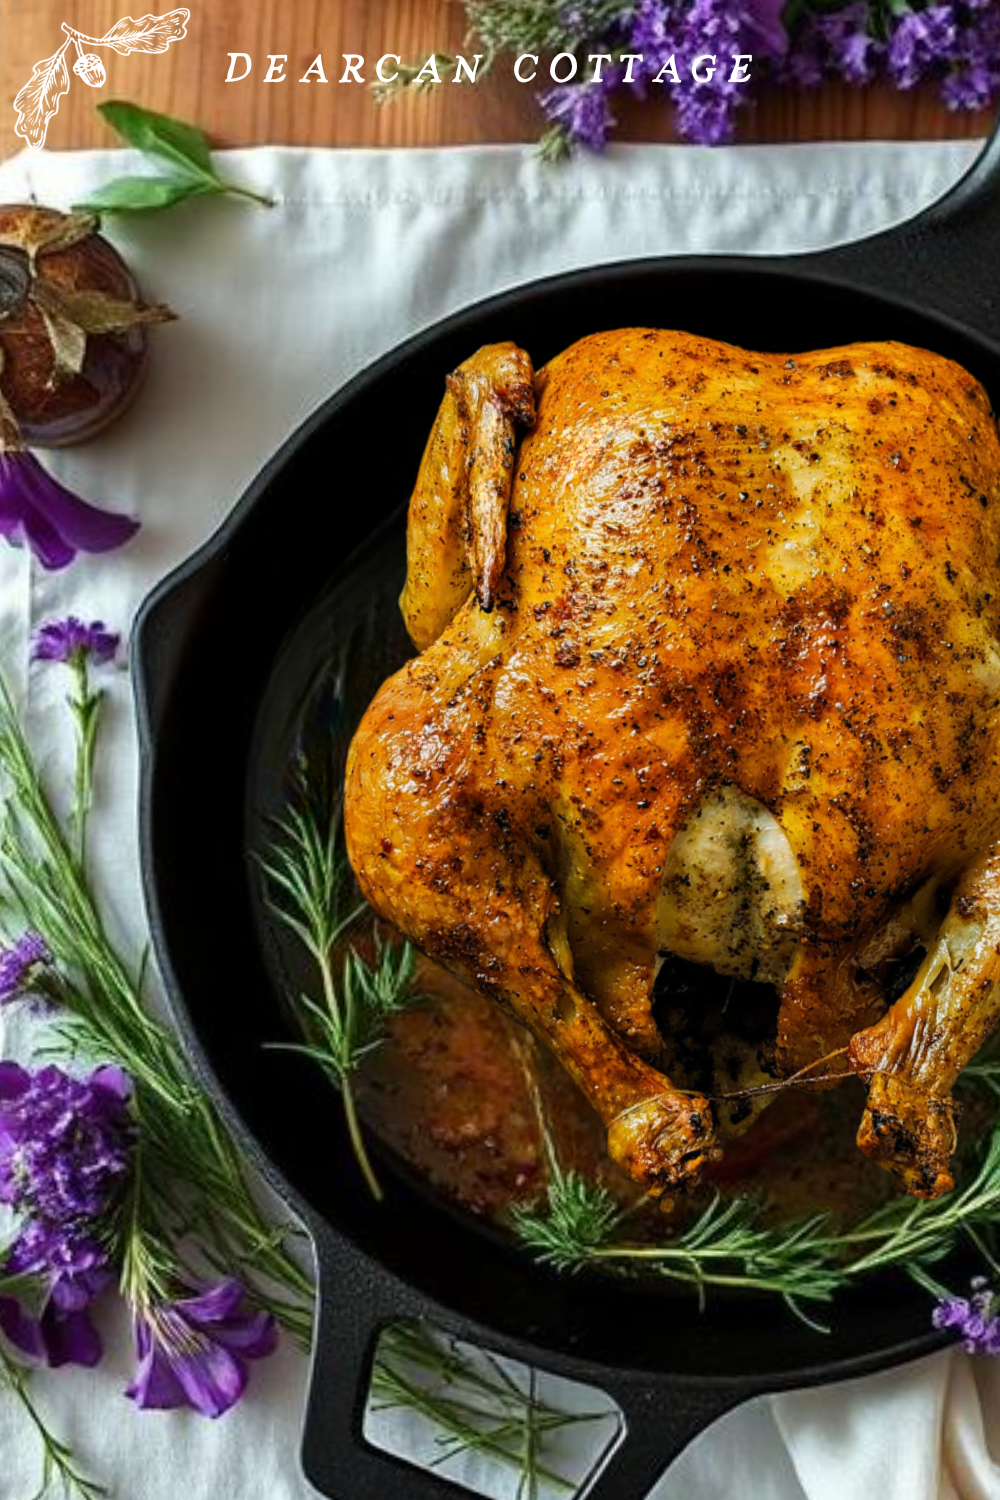
10. Rest The Roast Chicken
This step is crucial for juicy meat. Once the chicken is cooked, transfer it to a cutting board. Cover it loosely with foil and let it rest for 15-20 minutes. Resting allows the juices to redistribute throughout the meat, preventing dryness when you carve it.
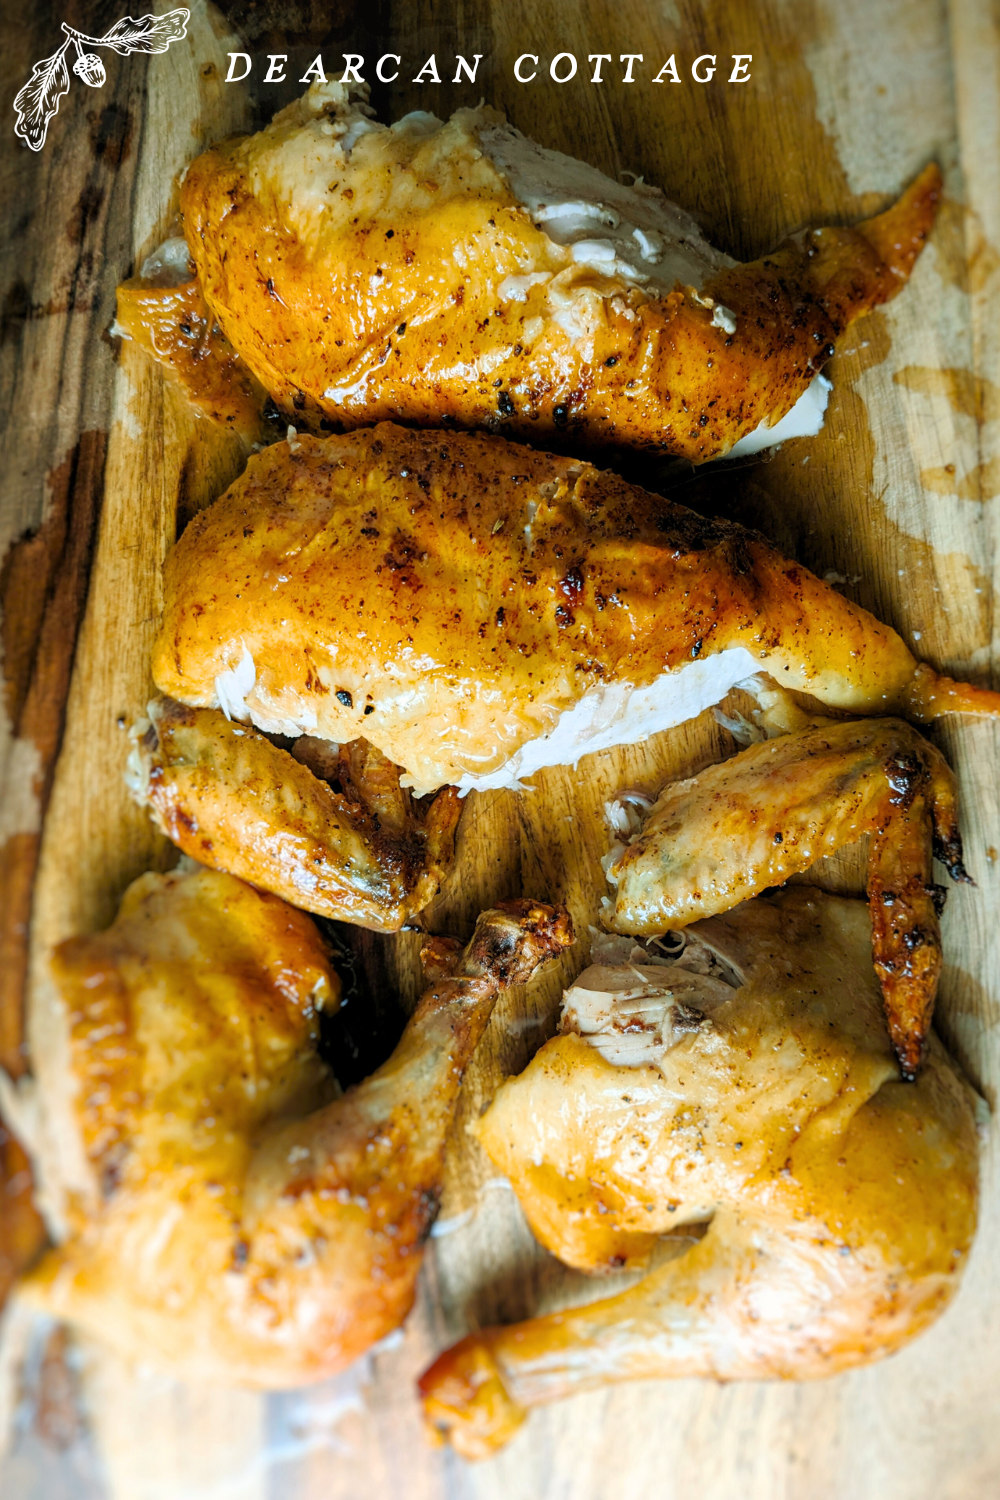
Can you see how juicy this roast chicken is? The cutting board was dripping with delicious chicken juice!
11. Carve & Serve
Use a sharp carving knife to slice the roast chicken. I suggest starting right in your roasting dish, because the juice is going to drip and get lost on your cutting board. You can save the juice for making gravy or save for chicken broth making!
Start with the legs and thighs, then move to the wings and breasts. When cutting the chicken breast, start slightly off-center from the chicken sternum cartiledge, and move at an slight angle downwards. Serve the chicken with roasted vegetables, mashed potatoes, or a fresh salad. Gravy would taste great too!
12. Save the Bones
Don’t throw out your bones, skins, cartilage, and leftover drippings. Save all the leftovers to make chicken bone broth. See my step-by-step guide for gelatinous bone broth here.
Bonus! How to Make Chicken Gravy From Drippings
Save the juices from the roasting dish, scraping the dish to get all that goodness, and add more chicken or vegetable broth to the drippings. To thicken add a tablespoon of flour (or sourdough discard) and two teaspoons of arrowroot powder, stirring continuously until the powder disappears. You could add some seasonings and salt if you like. Heat up gravy until it comes to a boil. When it thickens up, remove from heat, serve, and enjoy!
Conclusion
Making a roast chicken might seem intimidating at first, but following these steps can help you achieve tender and flavorful results every time. Fresh ingredients, seasoning, and attention to detail make all the difference. Treat yourself and your loved ones to this classic dish, and watch it become a go-to favorite in your kitchen.
Pin This For Later