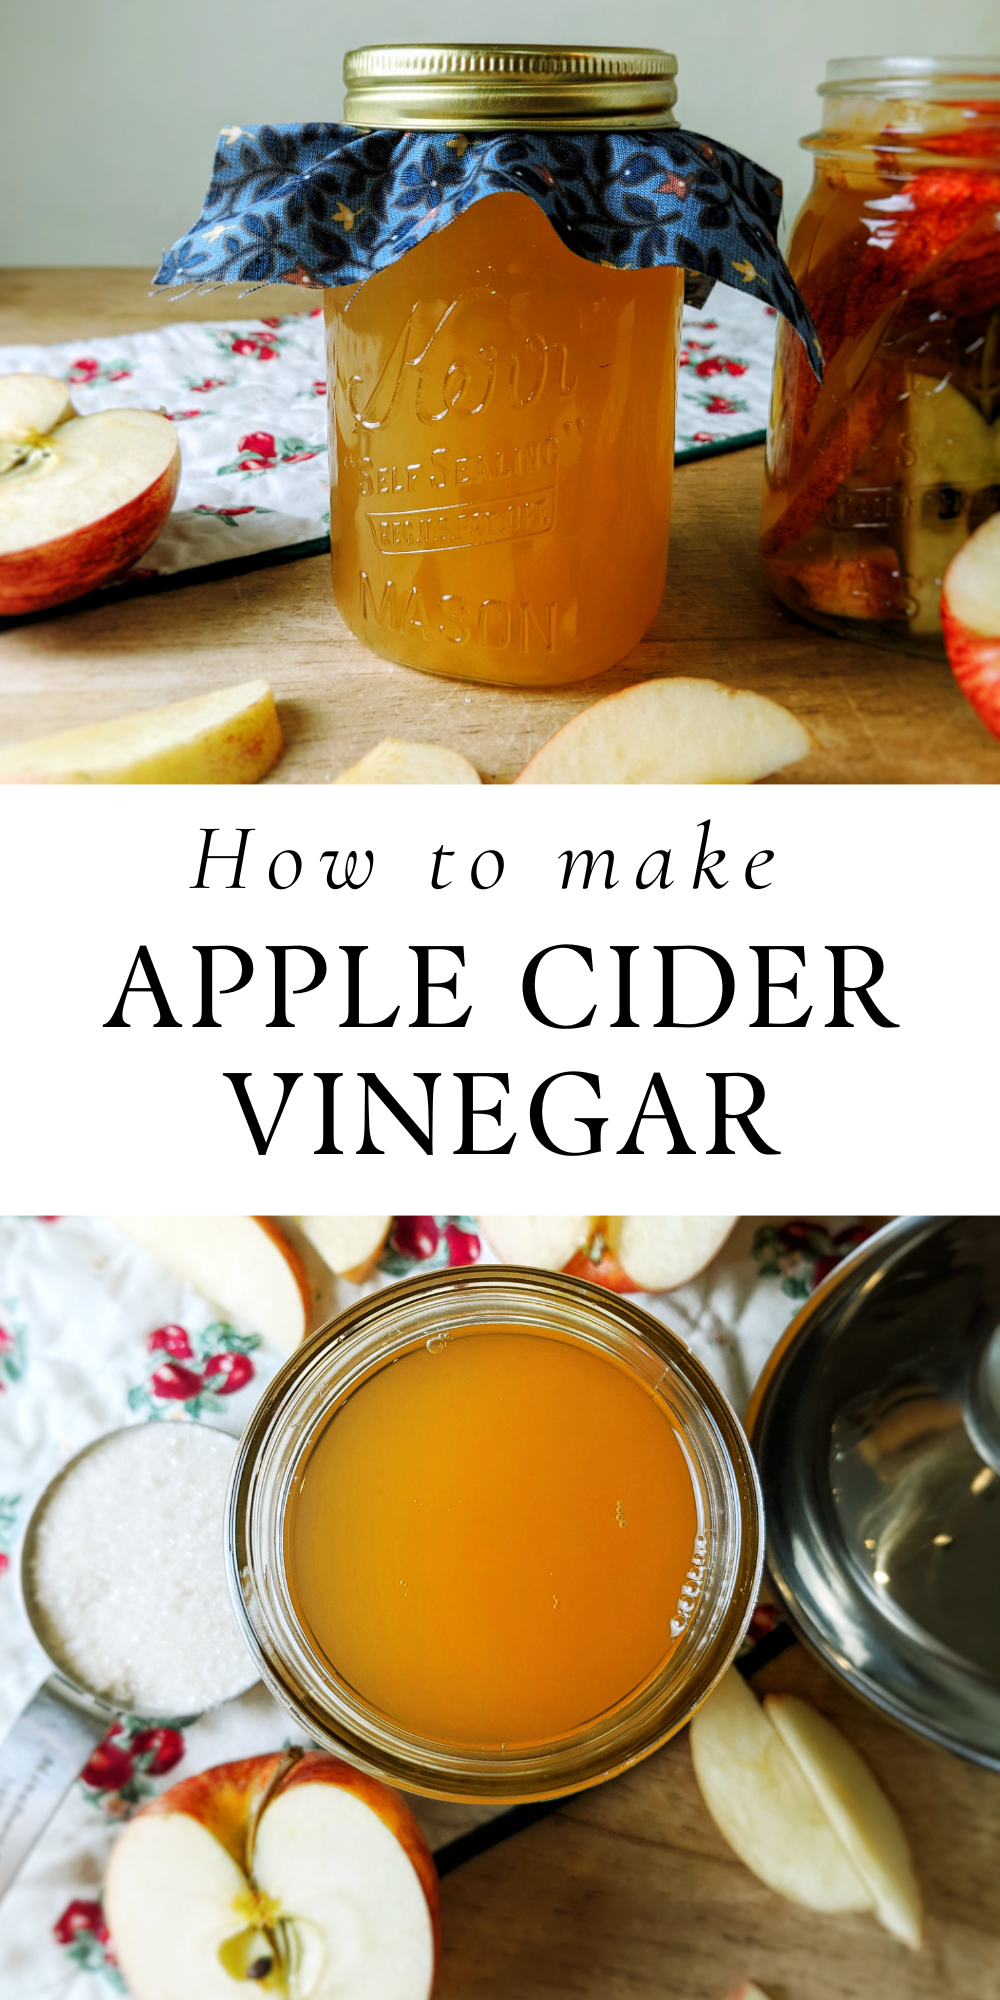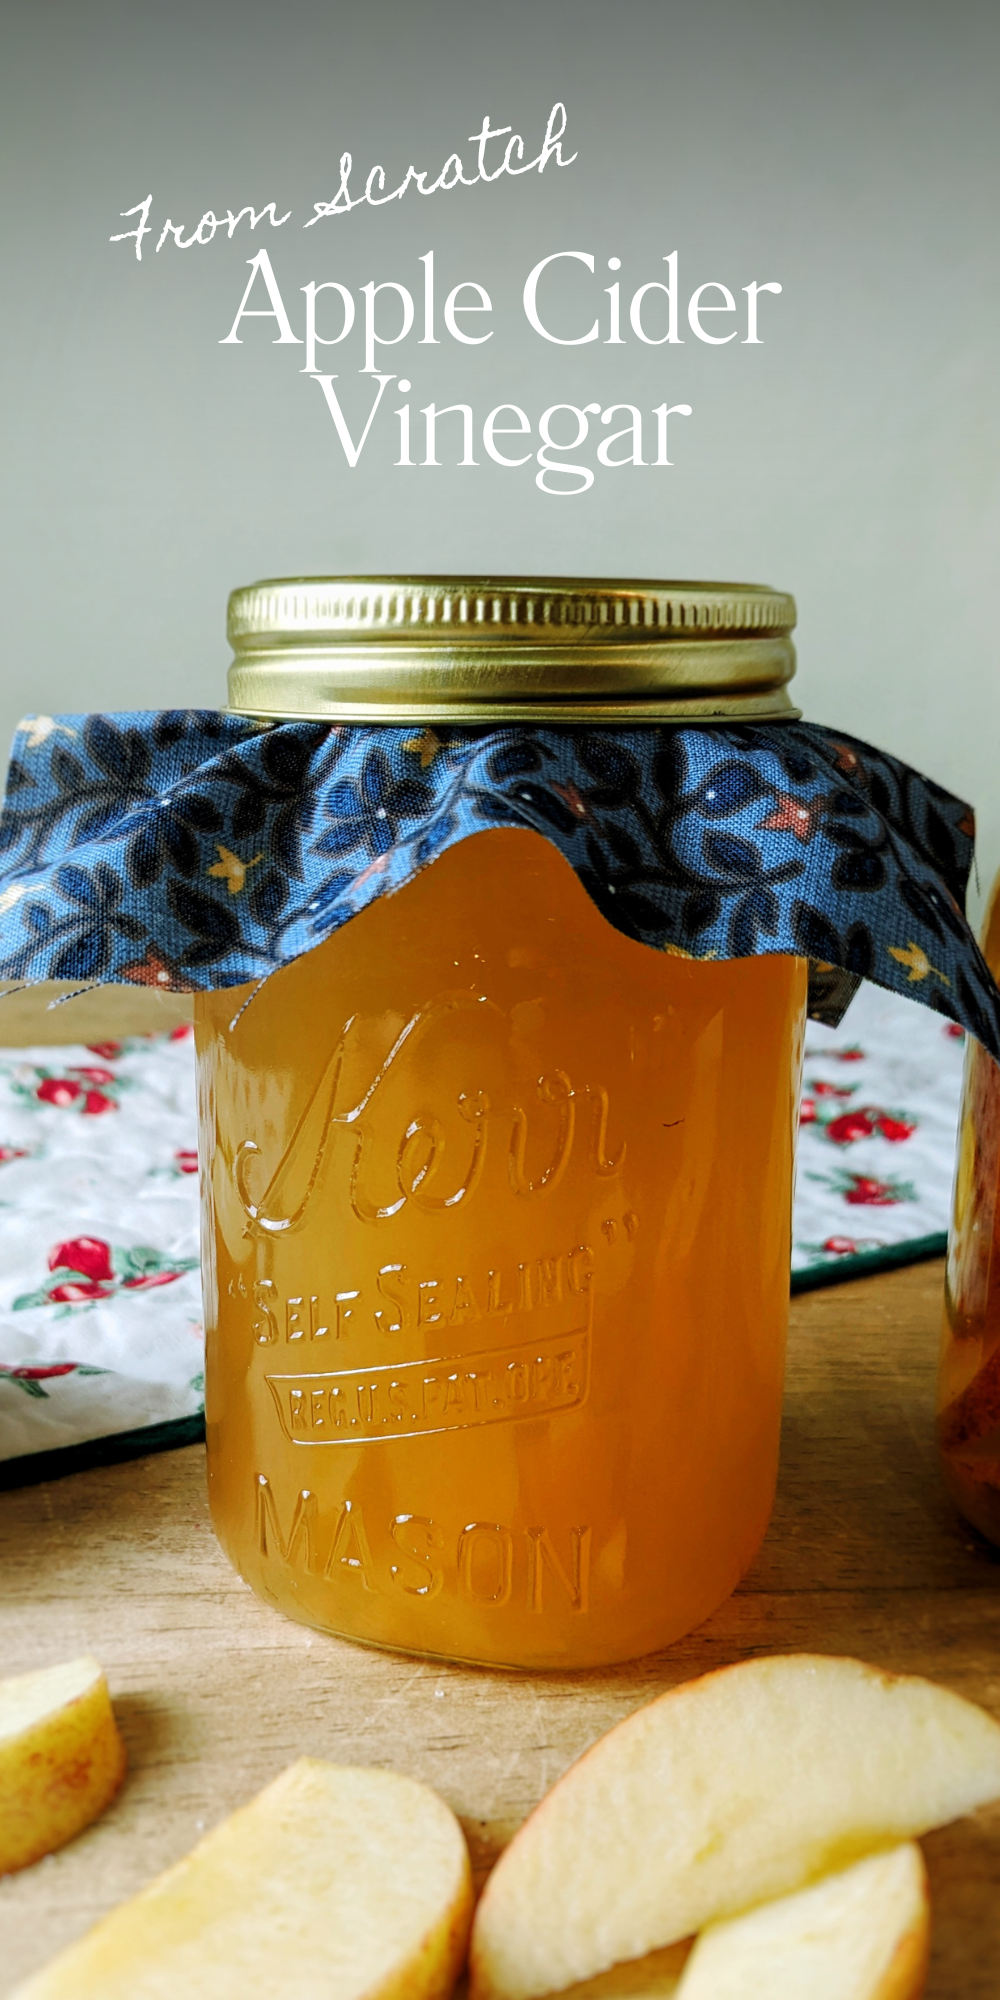
How to Make Homemade Apple Cider Vinegar From Scratch: A Simple Guide for Beginners
Making apple cider vinegar at home is easier than you might think, and it comes with plenty of perks. Not only is it cheaper than store-bought options, but you’ll also know exactly what’s in it—no hidden additives or preservatives. Plus, it’s packed with potential health benefits, from improving digestion to supporting your immune system. Whether you’re looking to save money, embrace healthier habits, or try something new, making homemade apple cider vinegar is a simple, rewarding project you can start in your own kitchen. Let’s break it down step by step.
This page contains affiliate links, which means I may earn a small commission at no extra cost to you. As an Amazon Associate, I earn from qualifying purchases.
Why You’ll Love Homemade Apple Cider Vinegar
Whether you are using apple cider vinegar in your recipes, in homemade cleaning products, topically, or to ingest for health purposes, there are so many reasons you will love having it in your home. Some of the ways you can use apple cider vinegar:
- Salad Dressings
- Bone Broth
- Sauces
- Glazes
- Marinades
- Activates Baking Soda
- Supports Digestion
- Boosts Immunity
- Builds Gut Health
- Antibacterial
- Anti-fungal
- Fights Candida
- Reduces Inflammation
- Fruit Fly Trap
- … and the list goes on!
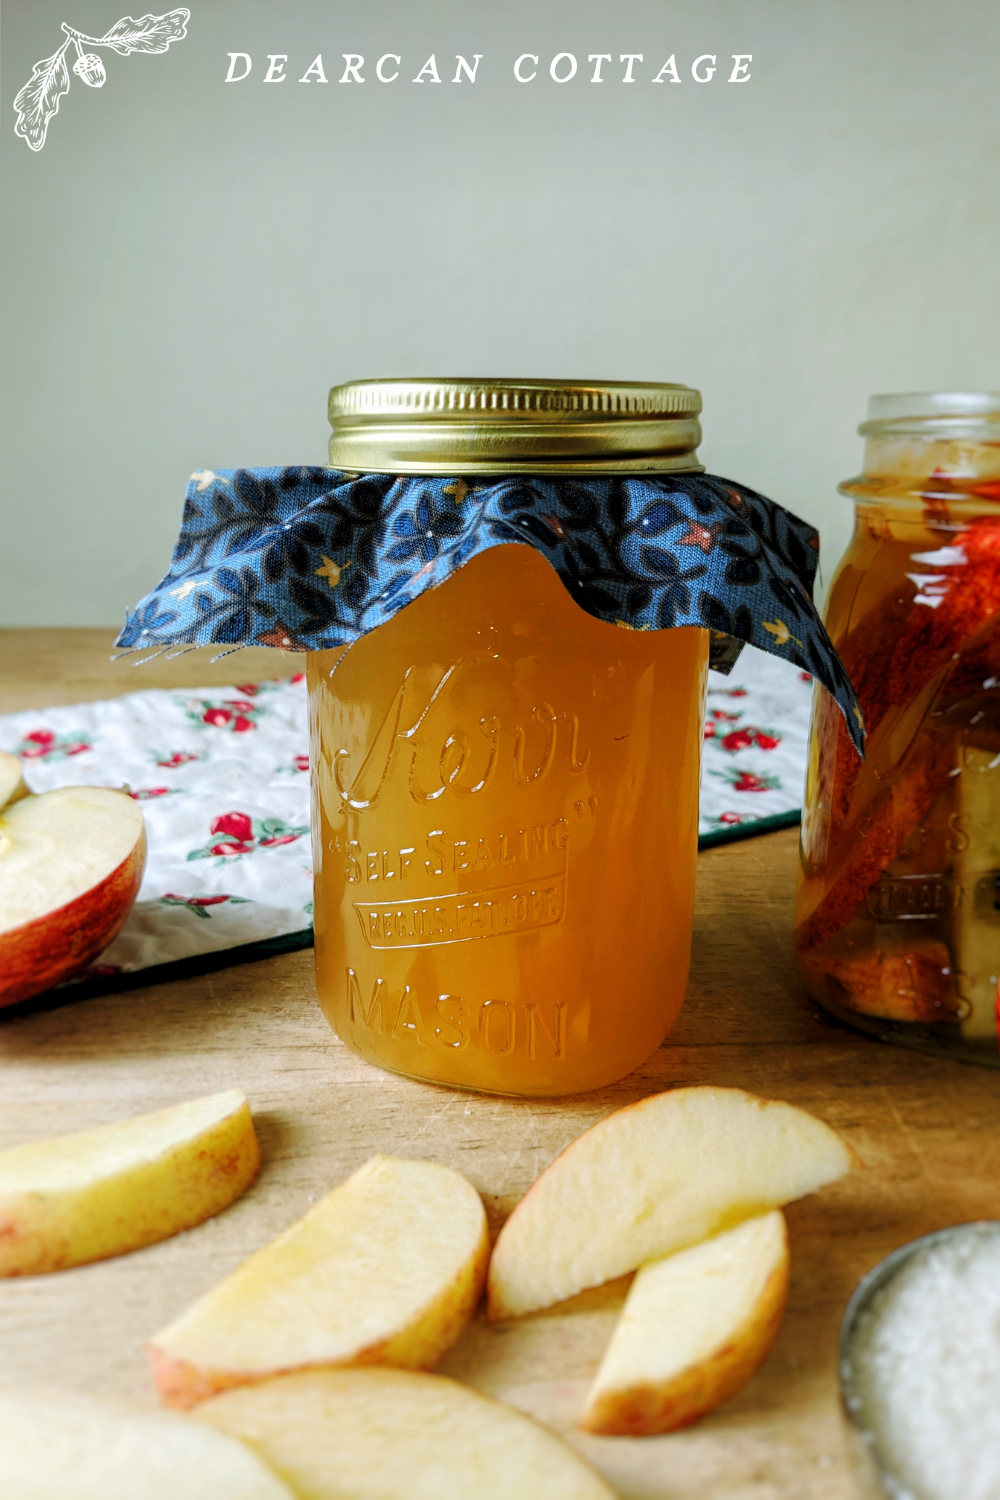


Homemade Apple Cider Vinegar (ACV) From Scratch
Ingredients
Equipment
Notes
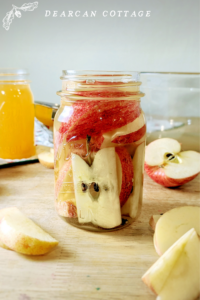
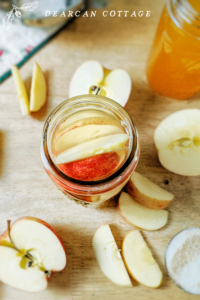 3. Fill Jar With Apples
Fill your jar with organic, unwaxed apple chunks (or scraps) about three-quarters full or just below the neck of the jar. If you have unwanted apple cores, bruised spots, or peels, you can use what would have been wasted to make apple cider vinegar. This is the beautiful thing about making your own homemade apple cider vinegar, is you can utilize the whole apple, without waste!
Totally optional, but you can add your “mother of vinegar”, or a splash of leftover vinegar, at this step if you have it. If you are starting this from scratch without a “mother” SCOBY, no worries this recipe will still work!
3. Fill Jar With Apples
Fill your jar with organic, unwaxed apple chunks (or scraps) about three-quarters full or just below the neck of the jar. If you have unwanted apple cores, bruised spots, or peels, you can use what would have been wasted to make apple cider vinegar. This is the beautiful thing about making your own homemade apple cider vinegar, is you can utilize the whole apple, without waste!
Totally optional, but you can add your “mother of vinegar”, or a splash of leftover vinegar, at this step if you have it. If you are starting this from scratch without a “mother” SCOBY, no worries this recipe will still work!
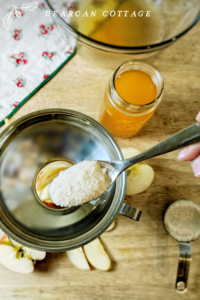
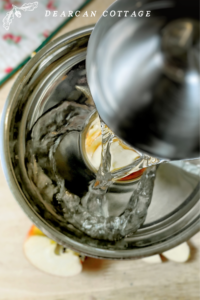 4. Pour In Filtered Water
You’ll need enough sugar water to cover the apples or scraps in your jar (one tablespoon of sugar per one cup of water). The sugar feeds the natural bacteria and yeast, helping the fermentation process. Leave at least an inch of space at the top of the jar.
5. Add Sugar to the Jar
Pour the sugar over the apples and stir until everything is submerged. You need one tablespoon of sugar per one cup of water. I prefer raw organic cane sugar for all it health benefits, but you can use what you have to get it started.
6. Cover the Jar with Cloth
Use a clean cloth or coffee filter to cover the jar. Secure it with a rubber band. This prevents dust and bugs from getting in while allowing airflow, which is essential for fermentation. Avoid sealing the jar with a lid, as this can trap gases and might cause the jar to explode.
7. Store the Jar in a Warm, Dark Place
Place your jar in a warm spot away from direct sunlight. A kitchen cabinet or shelf works well. Keep the jar at about room temperature (60–80°F) to ensure proper fermentation. I like to tuck mine close by to the toaster oven, not touching, or overly warm too often, but it did the job well.
8. Stir the Mixture Daily
If your apples are floating to the top, and you don’t have a weight, you’ll want to push those apples down and stir with a clean spoon daily. This helps prevent mold and ensures even fermentation. The apples might start to sink after awhile, so you can just check to see how it’s developing, making sure there’s no bad bacteria growth, that looks fussy or black. After about one to two weeks, you’ll notice bubbles forming, a sign that fermentation has started.
4. Pour In Filtered Water
You’ll need enough sugar water to cover the apples or scraps in your jar (one tablespoon of sugar per one cup of water). The sugar feeds the natural bacteria and yeast, helping the fermentation process. Leave at least an inch of space at the top of the jar.
5. Add Sugar to the Jar
Pour the sugar over the apples and stir until everything is submerged. You need one tablespoon of sugar per one cup of water. I prefer raw organic cane sugar for all it health benefits, but you can use what you have to get it started.
6. Cover the Jar with Cloth
Use a clean cloth or coffee filter to cover the jar. Secure it with a rubber band. This prevents dust and bugs from getting in while allowing airflow, which is essential for fermentation. Avoid sealing the jar with a lid, as this can trap gases and might cause the jar to explode.
7. Store the Jar in a Warm, Dark Place
Place your jar in a warm spot away from direct sunlight. A kitchen cabinet or shelf works well. Keep the jar at about room temperature (60–80°F) to ensure proper fermentation. I like to tuck mine close by to the toaster oven, not touching, or overly warm too often, but it did the job well.
8. Stir the Mixture Daily
If your apples are floating to the top, and you don’t have a weight, you’ll want to push those apples down and stir with a clean spoon daily. This helps prevent mold and ensures even fermentation. The apples might start to sink after awhile, so you can just check to see how it’s developing, making sure there’s no bad bacteria growth, that looks fussy or black. After about one to two weeks, you’ll notice bubbles forming, a sign that fermentation has started.
 9. Strain Out the Apples, Saving The “Mother”
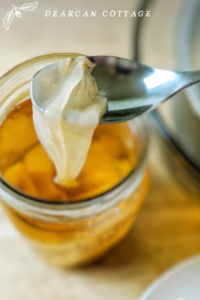
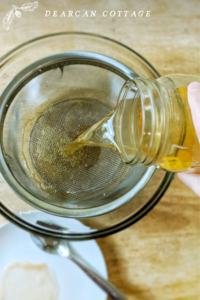
Once the bubbling slows down and it starts to smell less sweet and more like vinegar, strain out the apple pieces using a fine mesh strainer or cheesecloth. This should take around 4 weeks or a few months depending on how warm your ACV is. If your ACV was placed somewhere too cold it will slow down the process. Return the liquid to the jar. This cloudy liquid is the base of your vinegar.
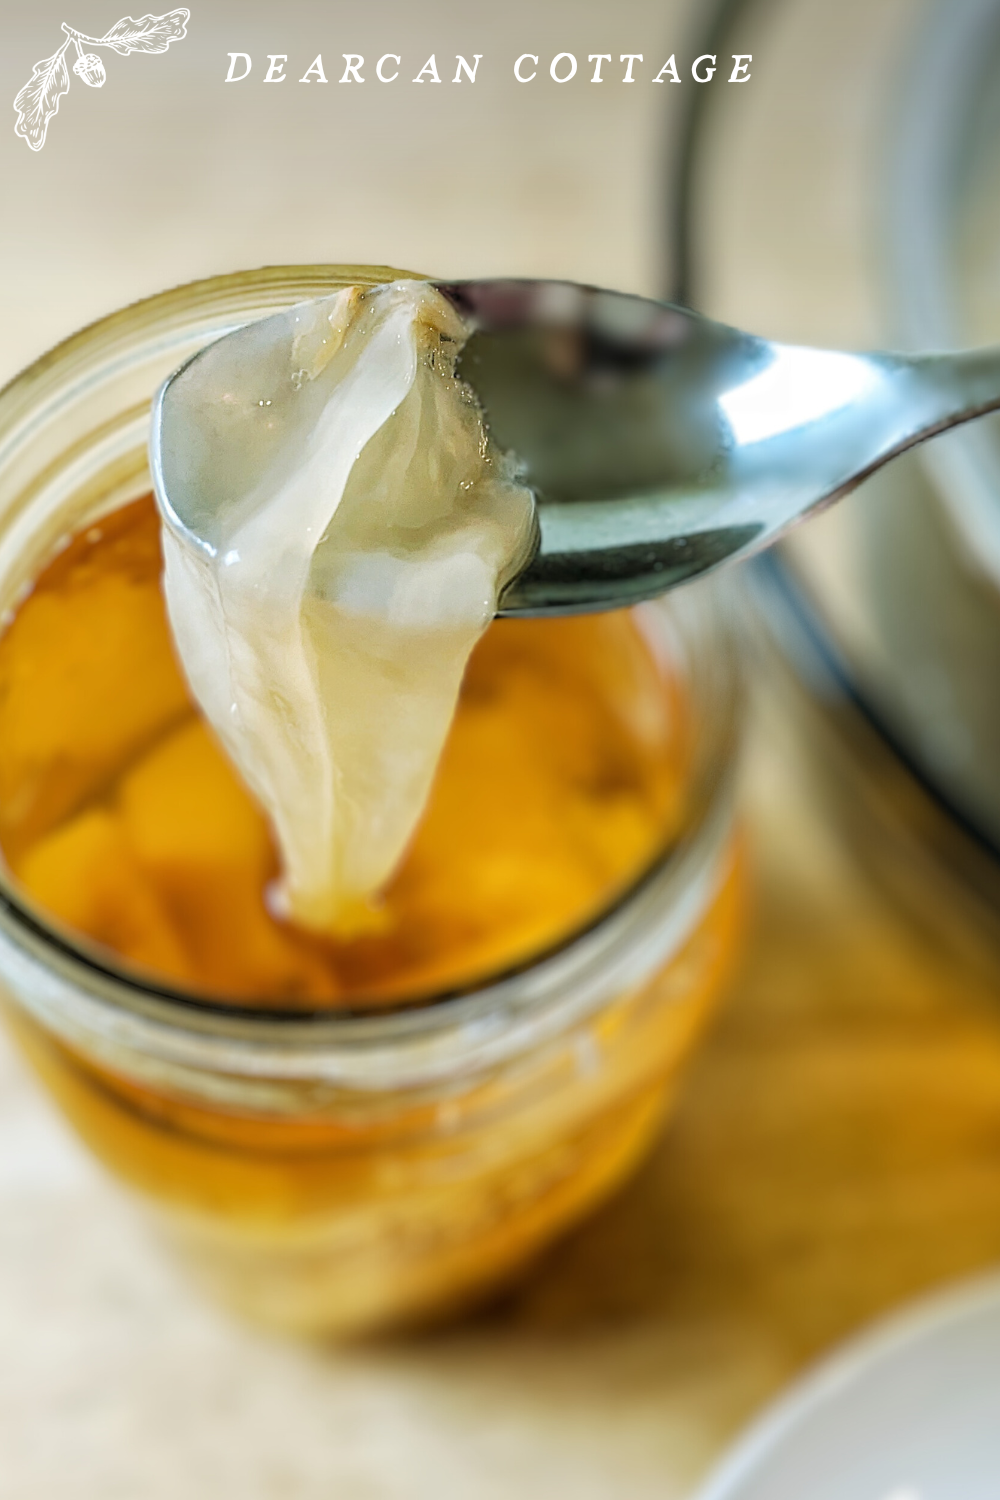
Don’t forget to save the SCOBY, called the “mother”, a white film that is naturally occurring in vinegar making. It can help further develop your vinegar and be shared to make new vinegar! Place it in your jar of freshly homemade apple cider vinegar.
10. Let It Ferment Again
Cover the liquid with the cloth and leave it in the same warm, dark place for another 3–4 weeks. The longer the mixture sits the stronger your vinegar will smell and taste.
11. Store with a lid someplace cool, and enjoy!
Volia! You have made homemade apple cider vinegar from scratch. Read the rest of the blog to see how you can make this system last all year round!
9. Strain Out the Apples, Saving The “Mother”
Once the bubbling slows down and it starts to smell less sweet and more like vinegar, strain out the apple pieces using a fine mesh strainer or cheesecloth. This should take around 4 weeks or a few months depending on how warm your ACV is. If your ACV was placed somewhere too cold it will slow down the process. Return the liquid to the jar. This cloudy liquid is the base of your vinegar.
Don’t forget to save the SCOBY, called the “mother”, a white film that is naturally occurring in vinegar making. It can help further develop your vinegar and be shared to make new vinegar! Place it in your jar of freshly homemade apple cider vinegar.
10. Let It Ferment Again
Cover the liquid with the cloth and leave it in the same warm, dark place for another 3–4 weeks. The longer the mixture sits the stronger your vinegar will smell and taste.
11. Store with a lid someplace cool, and enjoy!
Volia! You have made homemade apple cider vinegar from scratch. Read the rest of the blog to see how you can make this system last all year round!Ingredients Needed for Homemade Apple Cider Vinegar
To make homemade apple cider vinegar, you don’t need a long list of fancy ingredients. The beauty of this process lies in its simplicity, with just a few basic items coming together to create something incredibly versatile and beneficial. Let’s break this down into the essentials you’ll need, and why each one matters.
Apple Scraps
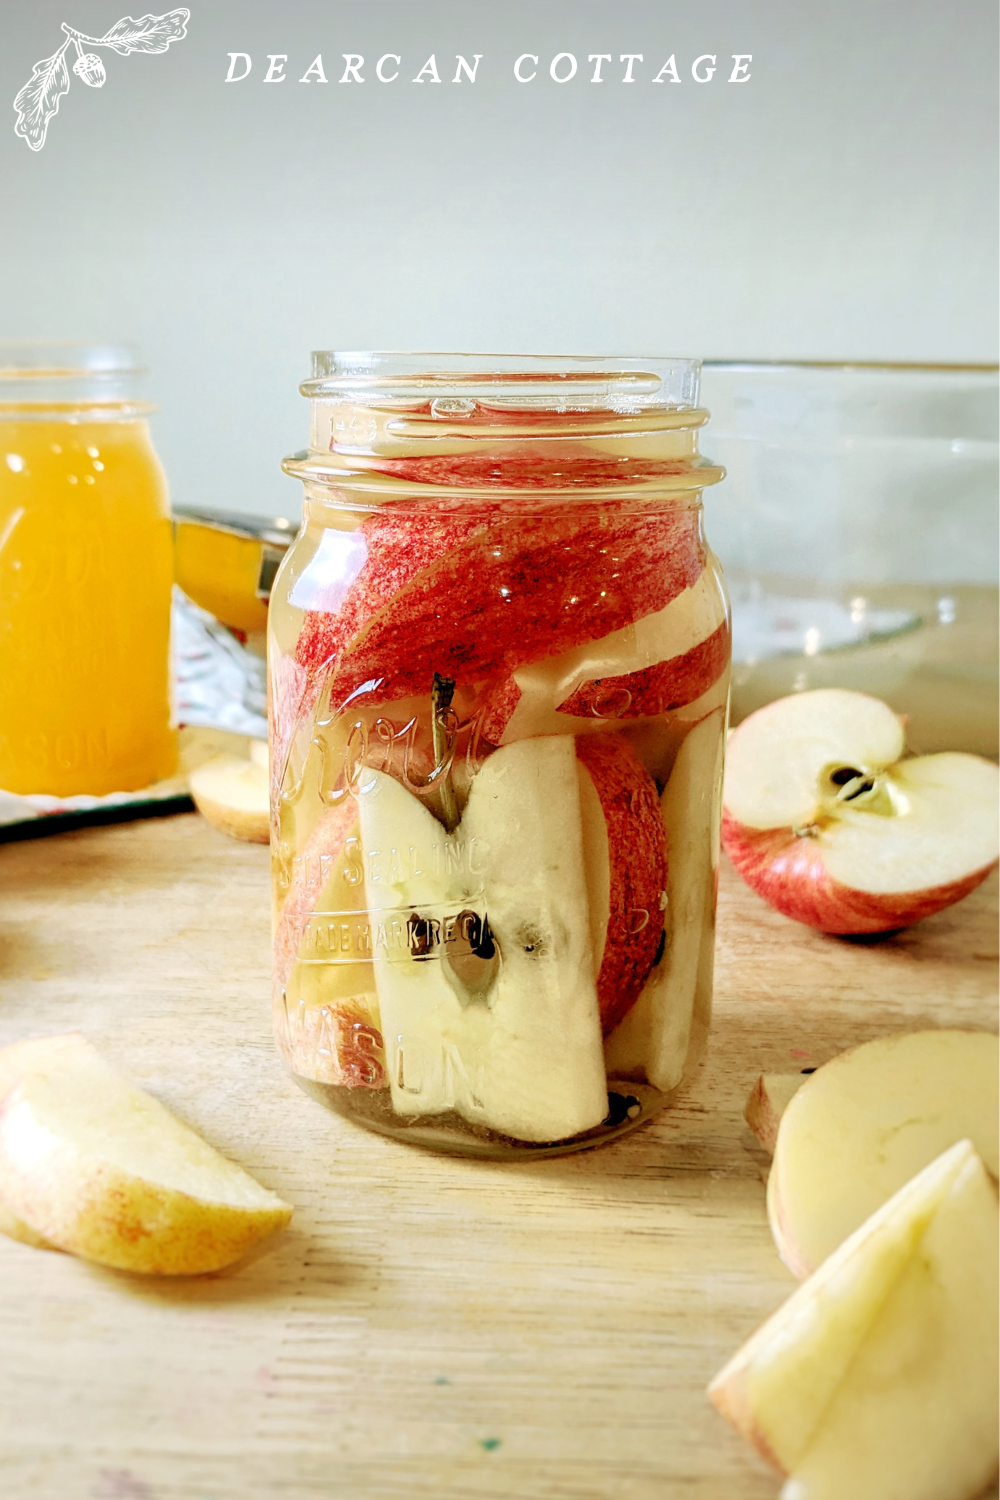
Ideally, you want to find organic apples, without any wax coating, to make apple cider vinegar, but whatever you find will work with a thorough wash. The best thing about making your own homemade apple cider vinegar, is you can use the whole apple! People who can apple related anything can save their scraps to make apple cider vinegar in a big bucket or a couple jars. If you have unwanted apple cores, bruised spots, or peels, you can use what would have been wasted to make ACV. You can even save small cuttings, put them in the freezer, and thaw them when you are ready to make your homemade apple cider vingar. Obviously, you just want to avoid any apples that are moldy or rotten, as it could compromise the health of your vinegar.
This page contains affiliate links, which means I may earn a small commission at no extra cost to you. As an Amazon Associate, I earn from qualifying purchases.
Raw Sugar, Honey, Or Maple Syrup
Sugar is what feeds the natural bacteria in the apples to convert the apple mixture into vinegar. Without sugar, you can’t create the alcohol needed for the second stage of fermentation. Don’t worry—most of it will be “eaten” by the fermentation process, so your final product won’t be sweet.
You could use regular white sugar works fine, but I prefer using raw cane sugar, honey, or even maple syrup for a more natural approach. For either of these sweetener options, it is one tablespoon to one cup of water ratio.
Filtered Water
You”ll need clean, filtered water, because tap water often contains chlorine, which can interfere with fermentation. Fully cover your apples with your water sugar mixture to prevent mold from forming, making sure all your apples remained submerged. If you don’t have a weight to help keep the apples down you can check your jar everyday and keep pushing them down with a clean spoon to keep mold from forming. Mold or bad bacteria growth will appear black or fuzzy, which isn’t good and should be removed. What you want to see is that naturally occurring white film called the “mother”, also known as a SCOBY, forming on top of the mixture. This is good and normal, and can help you make more vinegar later!
Vinegar
This is optional, but you can help jump start a new vinegar with a splash of vinegar. This can also help prevent mold or bad bacteria from forming in your vinegar. If you have a small amount of apple cider vinegar left in your jar, you can replenish your stock by adding more apples and sugar water to your jar. This is how the process can become self-sustainable and ready all year round. For this reason, some like to store their vinegar in larger glass jars with a spigot, to accommodate and access an ever-brewing system.
Step-by-Step Process to Make Apple Cider Vinegar
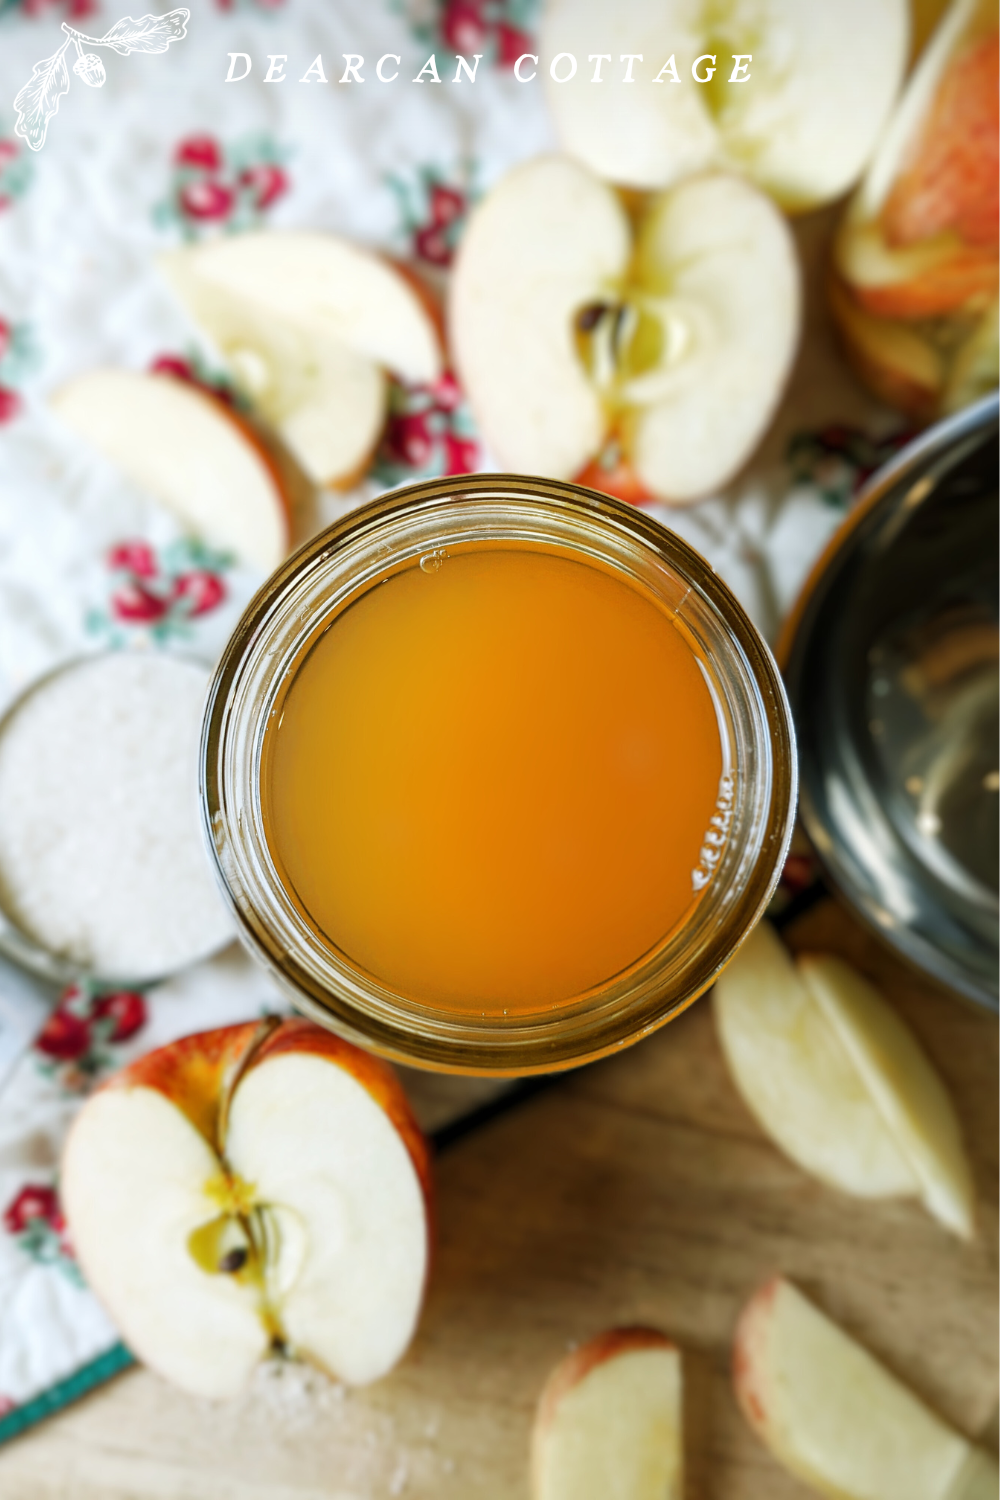
Making apple cider vinegar at home is a straightforward process, but each step matters. It’s all about creating the right conditions to let nature work its magic. With a little patience and attention, you’ll have a jar of tangy, homemade vinegar in no time. Let’s break it down step by step.
1. Gather Your Ingredients and Supplies
You’ll need apples, sugar, water, and a large jar. If you want to use apple scraps (cores and peels), this method works just as well. Use organic apples for the best results since pesticides could slow the fermentation process. Make sure you have a clean glass jar, cloth, and rubber band to cover the jar during fermentation.
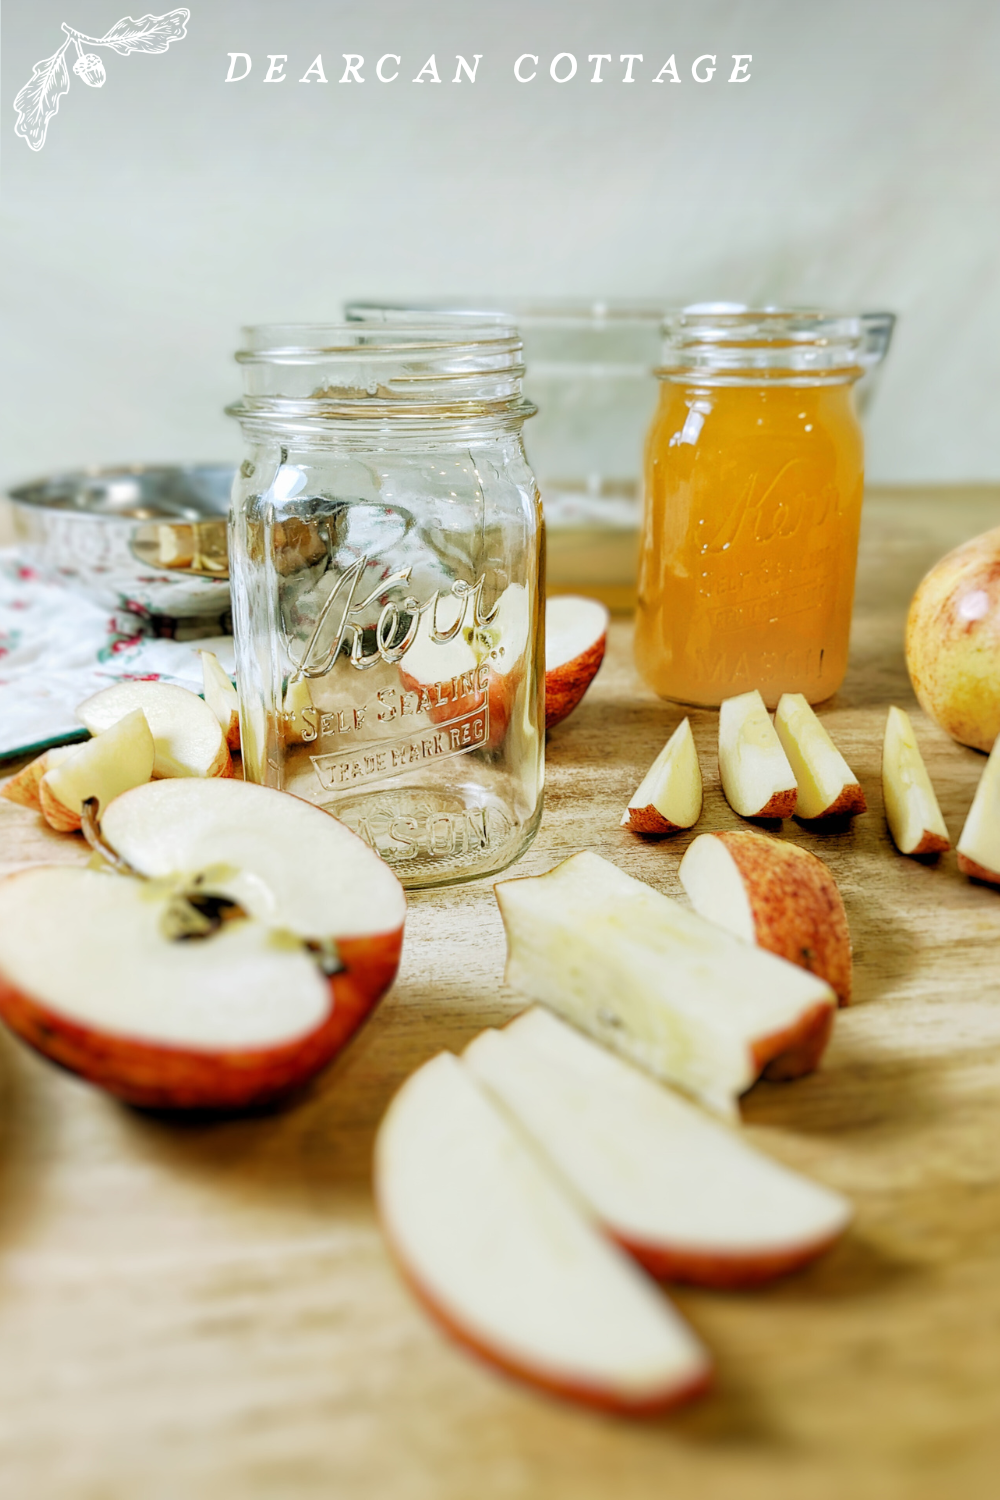
2. Wash and Chop the Apples
If you’re using whole apples, wash them well to remove any wax or dirt. Cut them into small chunks—there’s no need to peel or core them unless you prefer using scraps. If using only peels and cores, collect enough to fill to the neck of your jar.
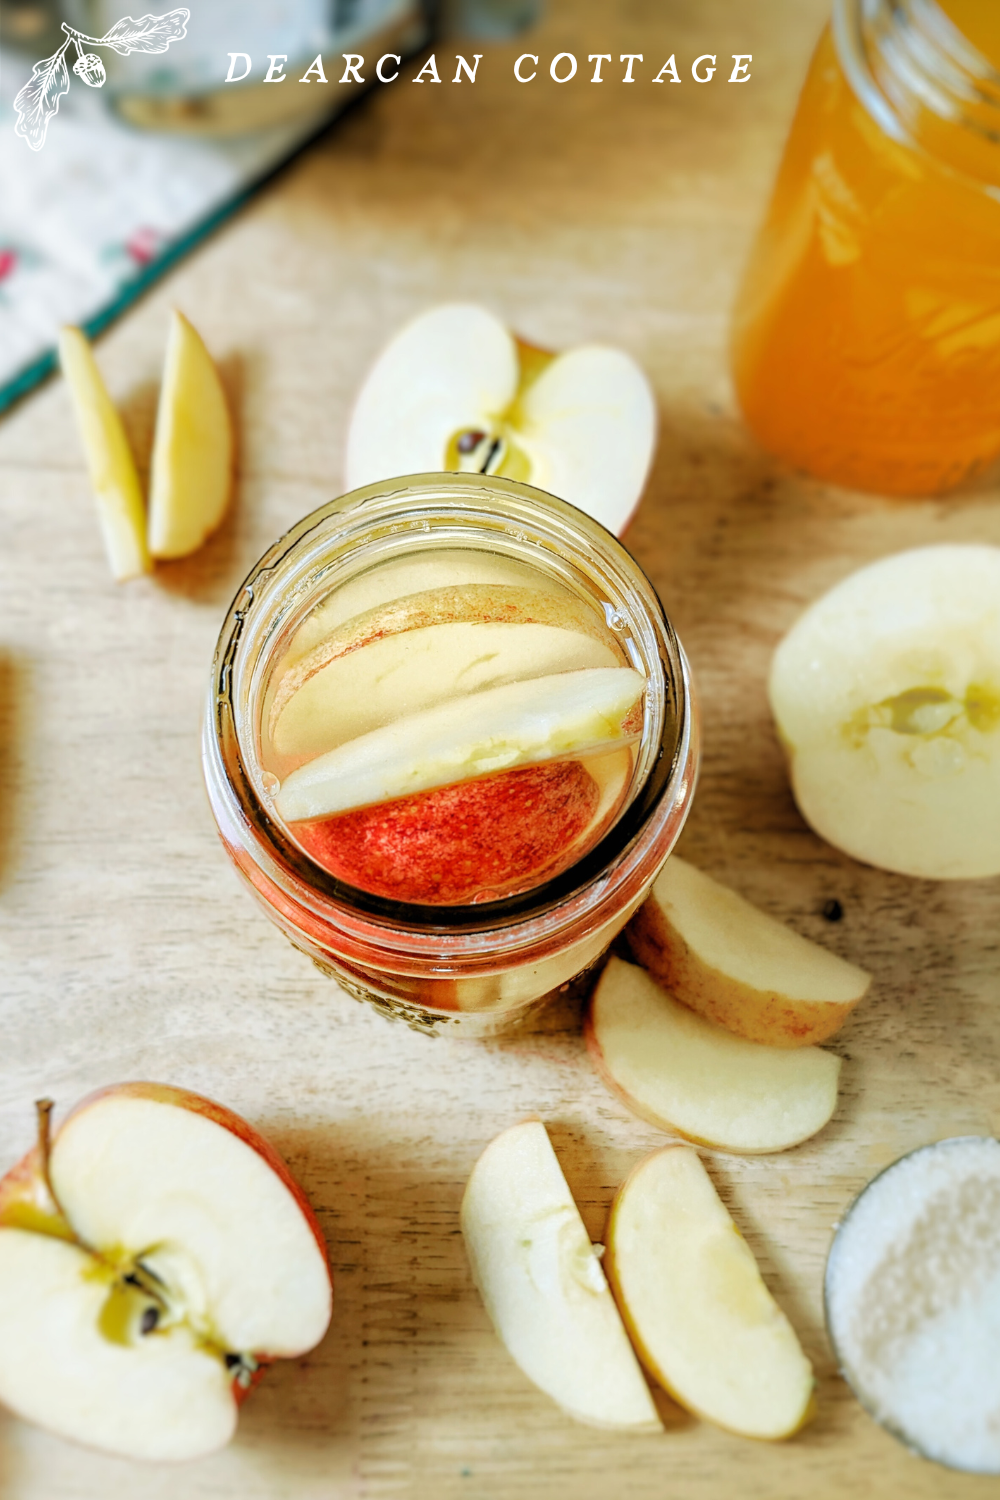
3. Fill Jar With Apples
Fill your jar with organic, unwaxed apple chunks (or scraps) about three-quarters full or just below the neck of the jar. If you have unwanted apple cores, bruised spots, or peels, you can use what would have been wasted to make apple cider vinegar. This is the beautiful thing about making your own homemade apple cider vinegar, is you can utilize the whole apple, without waste!
4. Pour In Filtered Water
You’ll need enough sugar water to cover the apples or scraps in your jar (one tablespoon of sugar per one cup of water). The sugar feeds the natural bacteria and yeast, helping the fermentation process. Leave at least an inch of space at the top of the jar.
5. Add Sugar to the Jar
Pour the sugar over the apples and stir until everything is submerged. You need one tablespoon of sugar per one cup of water. I prefer raw organic cane sugar for all it health benefits, but you can use what you have to get it started.
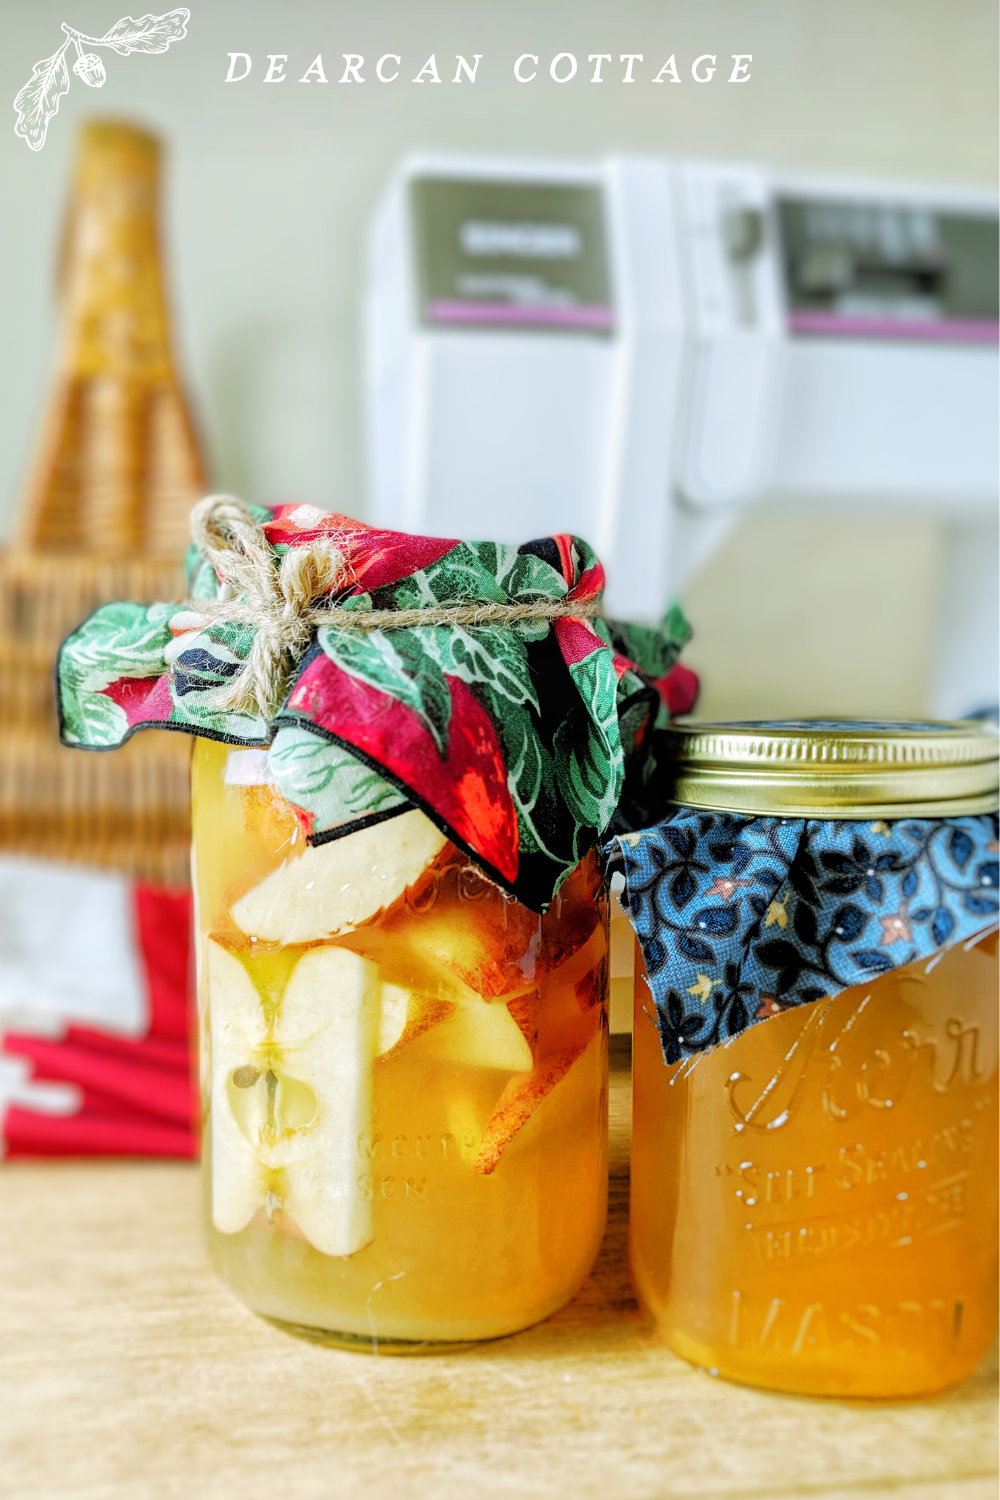
6. Cover the Jar with Cloth
Use a clean cloth or coffee filter to cover the jar. Secure it with a rubber band. This prevents dust and bugs from getting in while allowing airflow, which is essential for fermentation. Avoid sealing the jar with a lid, as this can trap gases and might cause the jar to explode.
7. Store the Jar in a Warm, Dark Place
Place your jar in a warm spot away from direct sunlight. A kitchen cabinet or shelf works well. Keep the jar at about room temperature (60–80°F) to ensure proper fermentation. I like to tuck mine close by to the toaster oven, not touching, or overly warm too often, but it did the job well.
8. Stir the Mixture Daily
If your apples are floating to the top, and you don’t have a weight, you’ll want to push those apples down and stir with a clean spoon daily. This helps prevent mold and ensures even fermentation. The apples might start to sink after awhile, so you can just check to see how it’s developing, making sure there’s no bad bacteria growth, that looks fussy or black. After about one to two weeks, you’ll notice bubbles forming, a sign that fermentation has started.
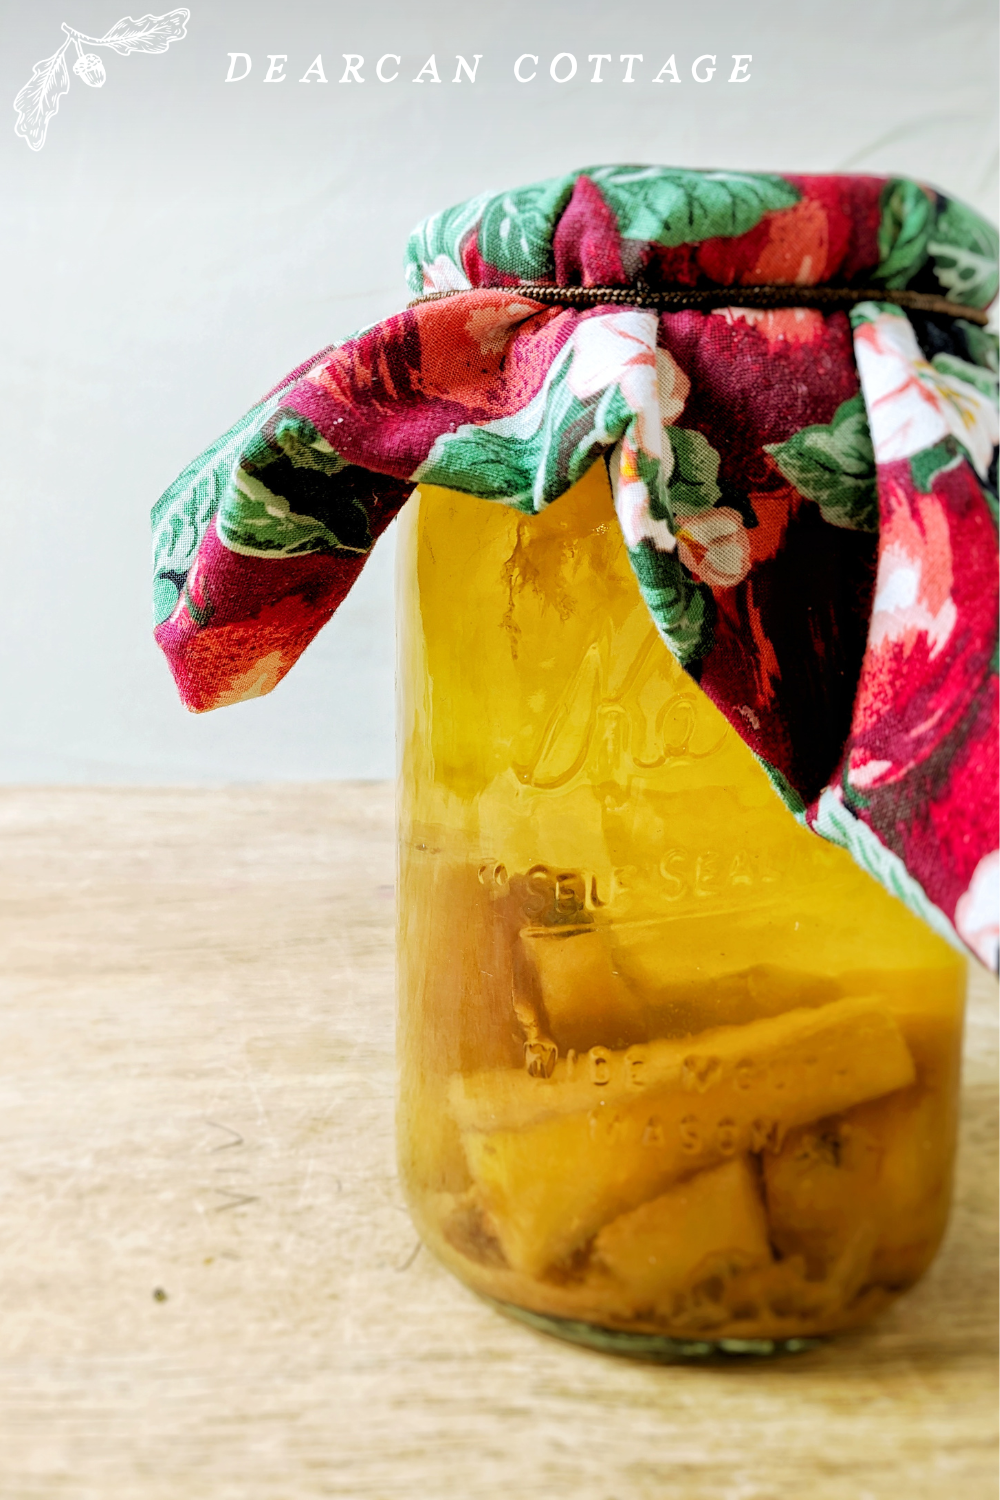
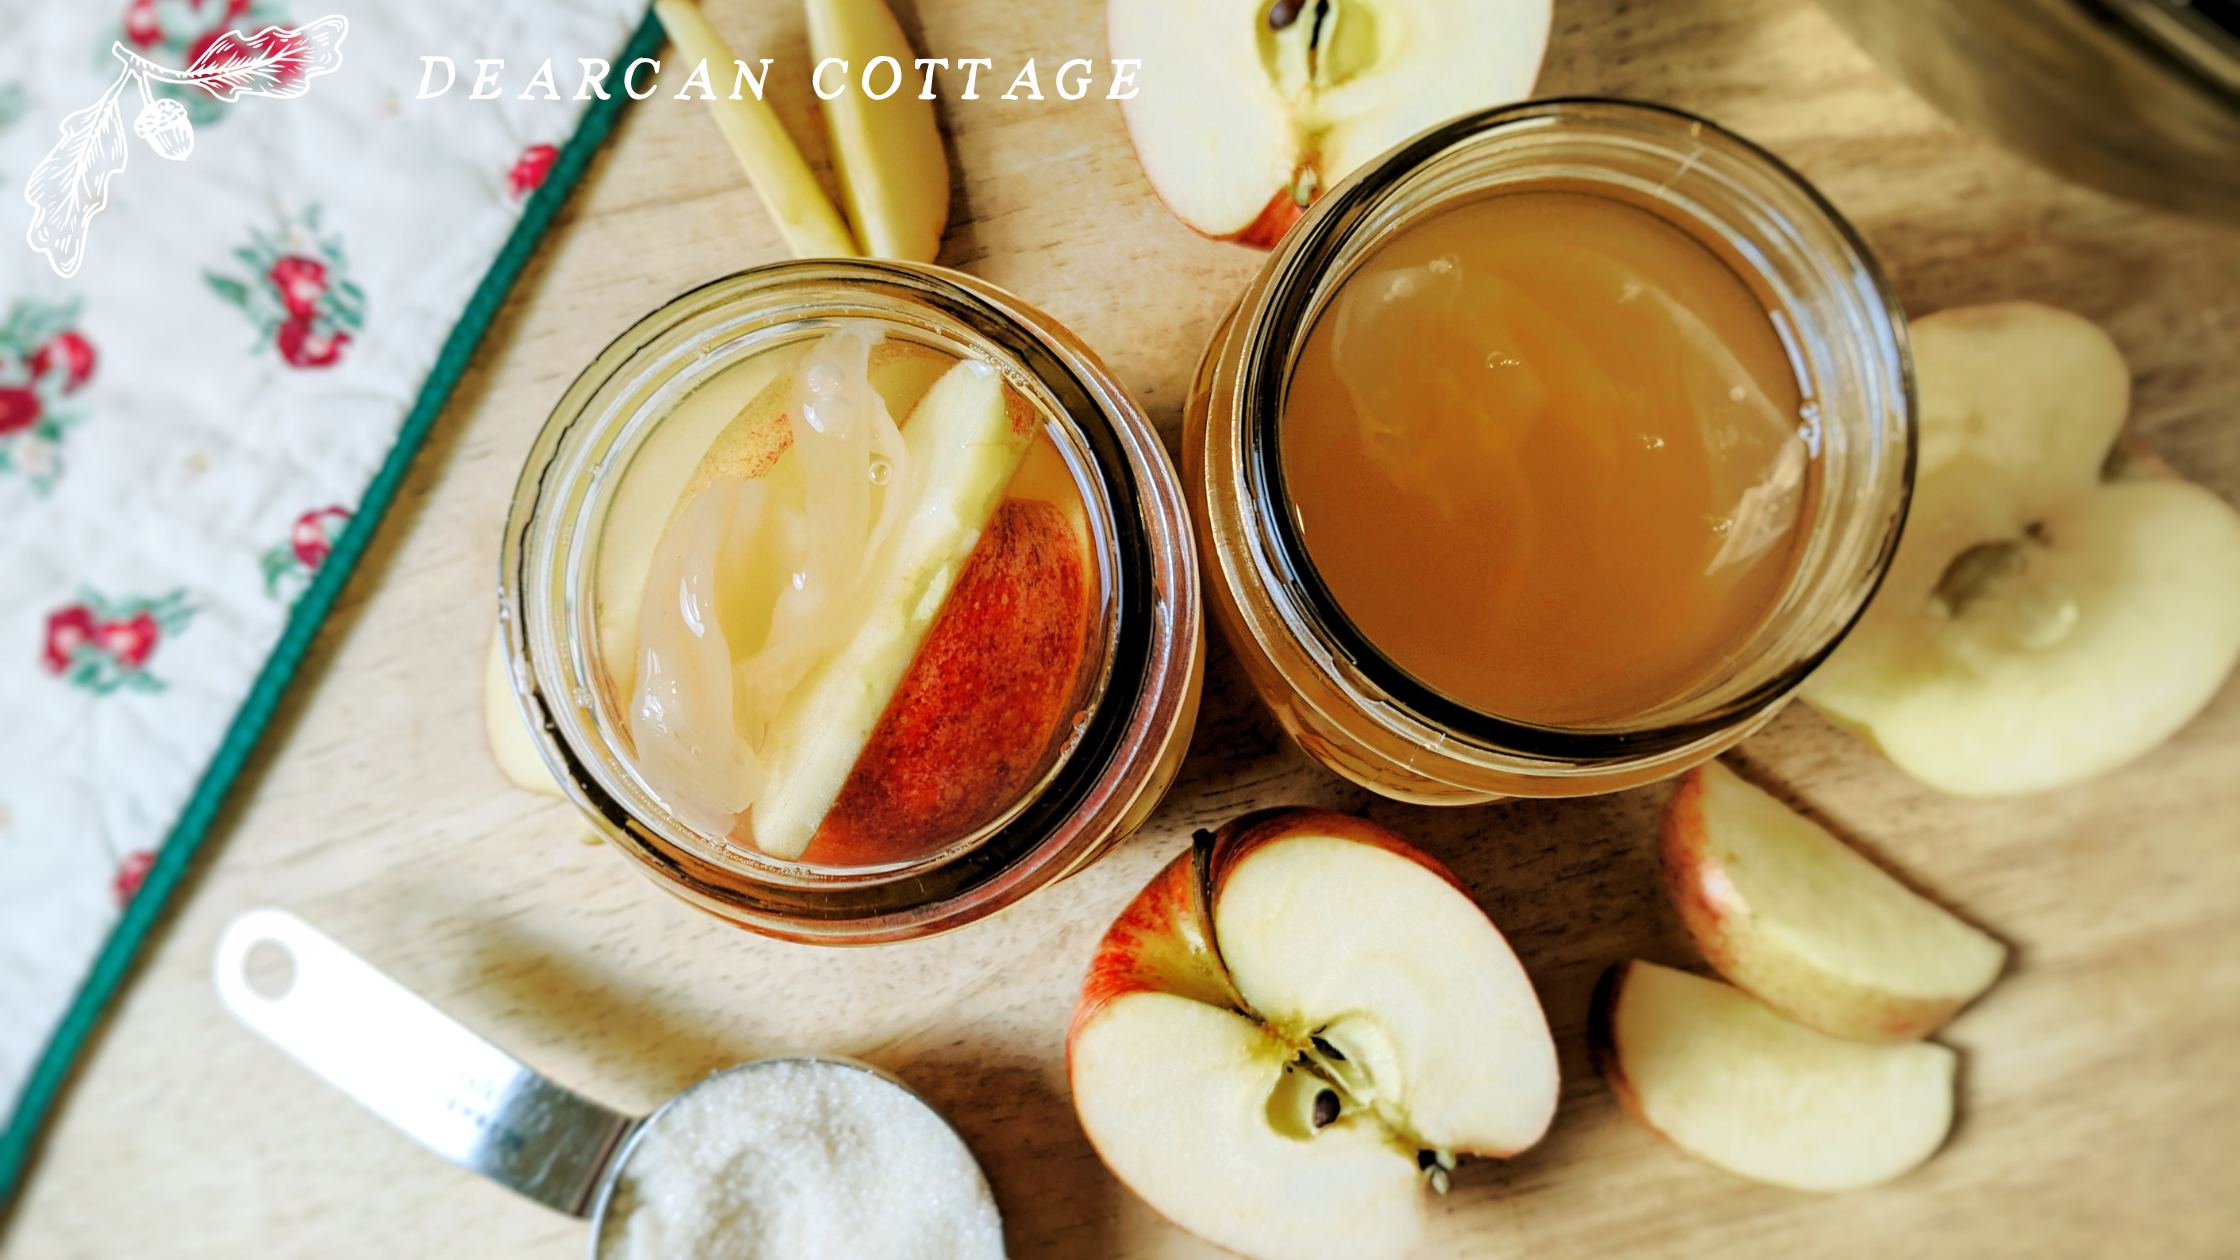
In this image you can see the apples have all fallen, fully saturated in the vinegar. It smells like a yummy apple scented vinegar now, and it’s ready to be strained.
9. Strain Out the Apples, Saving The “Mother”
Once the bubbling slows down and it starts to smell less sweet and more like vinegar, strain out the apple pieces using a fine mesh strainer or cheesecloth. This should take around 4 weeks or a few months. If your ACV was placed somewhere too cold it will slow down the process. Return the liquid to the jar. This cloudy liquid is the base of your vinegar.
Don’t forget to save the SCOBY, called the “mother”, a white film that is naturally occurring in vinegar making. It can help further develop your vinegar and be shared to make new vinegar! Place it in your in your freshly homemade apple cider vinegar.
10. Let It Ferment Again
Cover the liquid with the cloth and leave it in the same warm, dark place for another 3–4 weeks. The longer the mixture sits the stronger your vinegar will smell and taste.
Strong enough for canning?
I’ve heard other homesteaders and seasoned canners mention they wouldn’t use homemade ACV in some recipes for shelf-stable canning, even with a well-developed mother, because it requires a strong percentage vinegar. However, I’d follow your canning recipe guides, and of course you can always utilize your homemade vinegar for cleaners and simple refrigerator-stored recipes.
11. Store Your Completed Vinegar
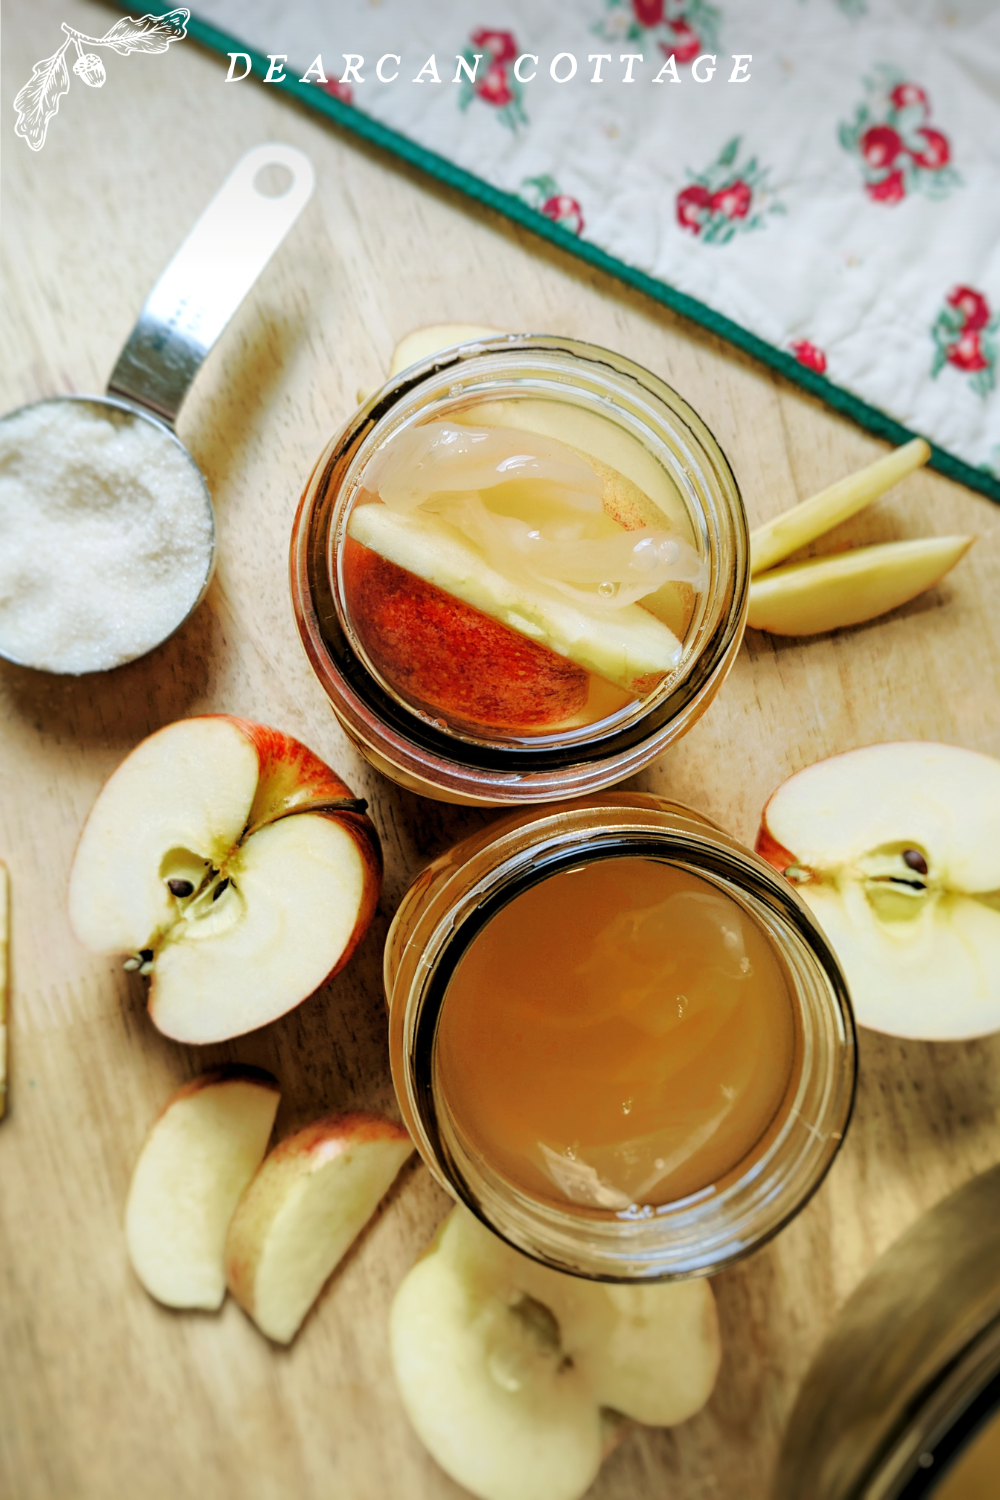
Once you’ve made your apple cider vinegar, smelling nice and vinegary, pour it into clean glass bottles or jars with lids for storage. Keep your apple cider vinegar in a cool, dark location like a pantry. It will continue to ferment slightly over time, but that only deepens the flavor.
This page contains affiliate links, which means I may earn a small commission at no extra cost to you. As an Amazon Associate, I earn from qualifying purchases.
12. Make More Vinegar
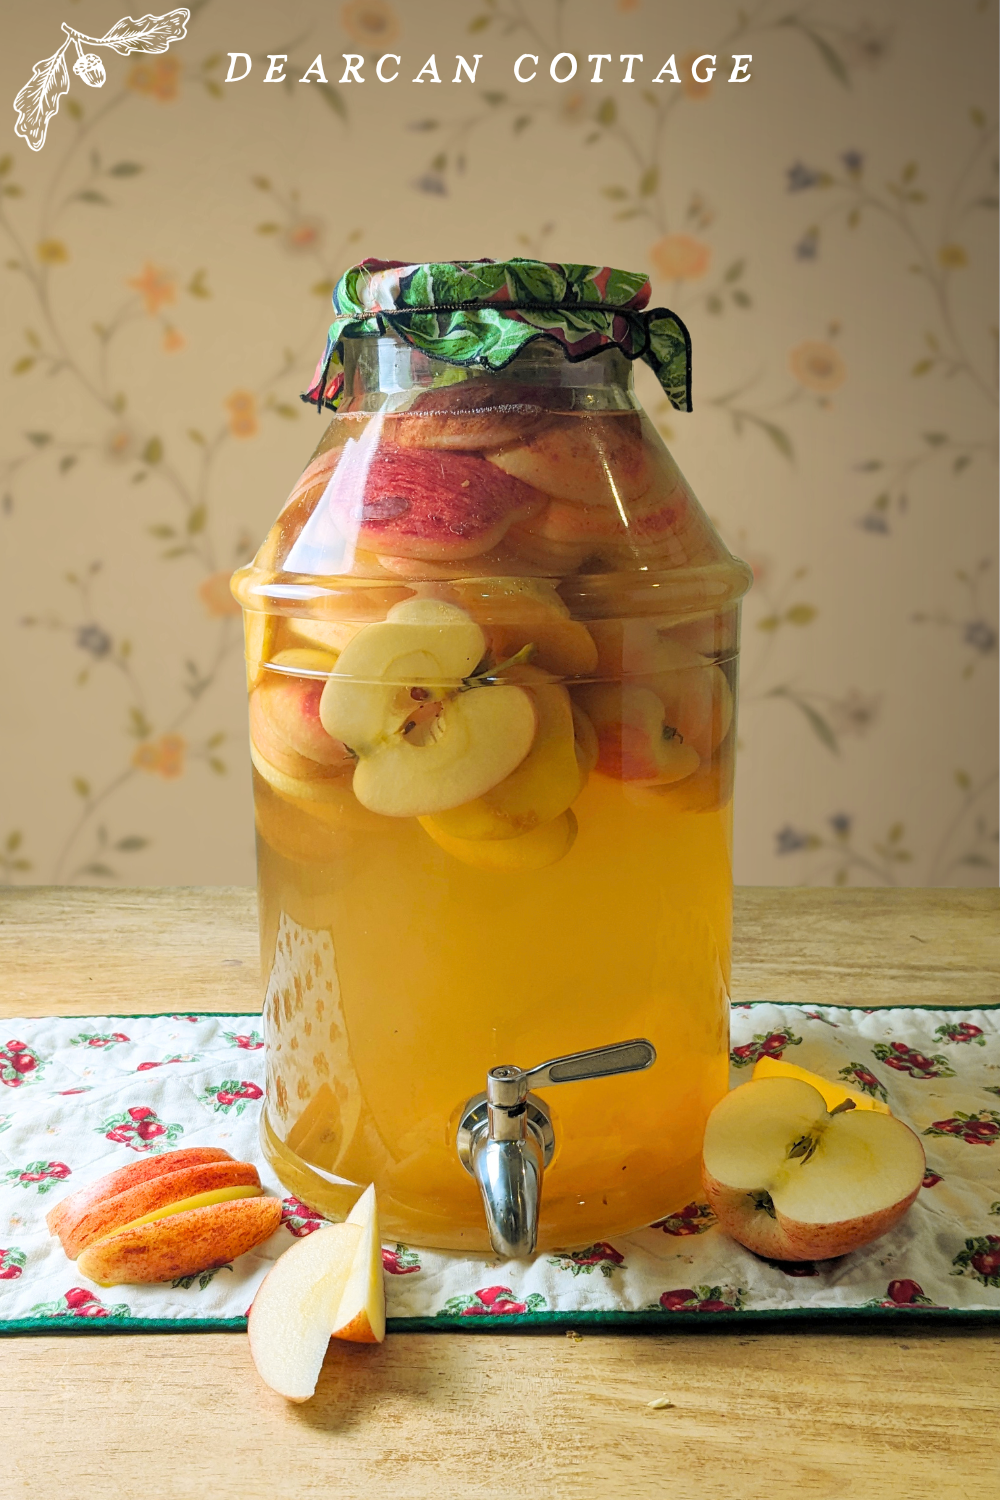
Once you’ve achieved a completed vinegar, you can add more apples and sugar water mixture to your main mix to replenish what you’ve made. Some like to transfer their apple cider vinegar into a large glass jar with a spigot to pour from. You can also use the mother to start other vinegar from scratch, either by slicing it in half, or peeling a layer from the thickening SCOBY. You can also help jump start a new apple cider vinegar with a splash of completed apple cider vinegar. Adding a little pre-made vinegar can help prevent mold from developing in the new vinegar, and make the process go faster.
Making apple cider vinegar at home is easier than you might think. It requires just a few ingredients, a little maintenance, and some patience. The result? Fresh, flavorful vinegar you can use for recipes, cleaning, or even skincare. Plus, there’s something rewarding about creating it yourself. Give it a try—you might never go back to store-bought again!
If you want to jumpstart your apple cider vinegar, you can use this one from Amazon. Just a splash of ACV will not only make the process go faster, but it can also protect your brew from mold or bad bacteria.
Want a glass spouted jug for your ACV? Here’s a similar one on Amazon!
If you only need a stainless steel spigot we love this one from Amazon.
Just a Spoonful Of ACV…
Making homemade apple cider vinegar at home is a simple and rewarding process. With just apples, sugar, water, and a little patience, you can create a natural product that’s both versatile and beneficial. From improving your favorite recipes to supporting your health, homemade apple cider vinegar is an easy way to add something special to your daily life.
From My Cottage to Yours: More to Explore
- 20 Simple Ways to Clean with Apple Cider Vinegar
- Easy Wild Honeyberry Jam Recipe (No Canning)
- Cast Iron Wonder: How To Bake A Dutch Baby, With Sourdough Discard (Family Favourite Recipe)
- Simple Homemade Natural Laundry Detergent Recipes
- How to Keep Your Bathroom Sparkling Clean with Minimal Effort
Pin This For Later