
Cast iron pans are unlike any other pan out there, and they require a unique cleaning and seasoning routine to get that shiny non-stick finish. The extra attention a cast iron pan needs can make it intimidating. However, with the right techniques and a simple routine, your cast iron will be the prize of the kitchen.
This page contains affiliate links, which means I may earn a small commission at no extra cost to you. As an Amazon Associate, I earn from qualifying purchases.
Cast Iron History
Cast Iron cookware has such an interesting rich history. It’s been around for thousands of years, and by the 20th century, everyone in America had a cast iron pan. Many families today have passed down these treasured heirlooms, and they are still in excellent shape and finely smoothed from years of seasoning. However, if you didn’t get great grandma’s cast iron, you can start your own legacy today with a historically rich piece of cookware that will last decades to come!
The Benefits of Cast Iron
Cast iron cookware can be extremely beneficial and rewarding!
- Very durable
- Retains heat longer
- Evenly distributes heat
- Puts more iron in your diet
- Healthier than non-stick pans
- Oven safe
- Can use over an open fire
- Pan tastes better over time
- Can pass down to the next generation
What Are The Best Cast Iron Companies?
Every country cottage kitchen needs a well-seasoned cast iron pan sitting on the stove. If you do not have a cast iron pan yet, or are interested in adding to your collection, this list of #affiliate options should point you in the right direction. The top cast iron cookware companies, of varying price points, are the following:
STAUB Cast Iron (Beautiful enamel options, high quality, and suited for any designer kitchen.)
Lodge Cast Iron (Affordable, has been around for a long time in America, and has lots of variety.)
Cuisinel Cast Iron (Trusted brand and affordable.)
Cleaning Your Cast Iron Pan
After enjoying a delicious home-cooked meal in your trusty cast iron pan, it’s time to give it some love and care to ensure it lasts a lifetime. Cleaning your cast iron pan doesn’t have to be a daunting task if you follow a few simple steps.
Step 1: Immediate Cleaning After Use
When it comes to cleaning your cast iron pan, timing is key. Make sure to hand wash only, while it’s still warm to make the process much easier and faster. Never put your cast iron in the dishwasher which will strip the seasoning off your pan.
Soap Or No Soap?
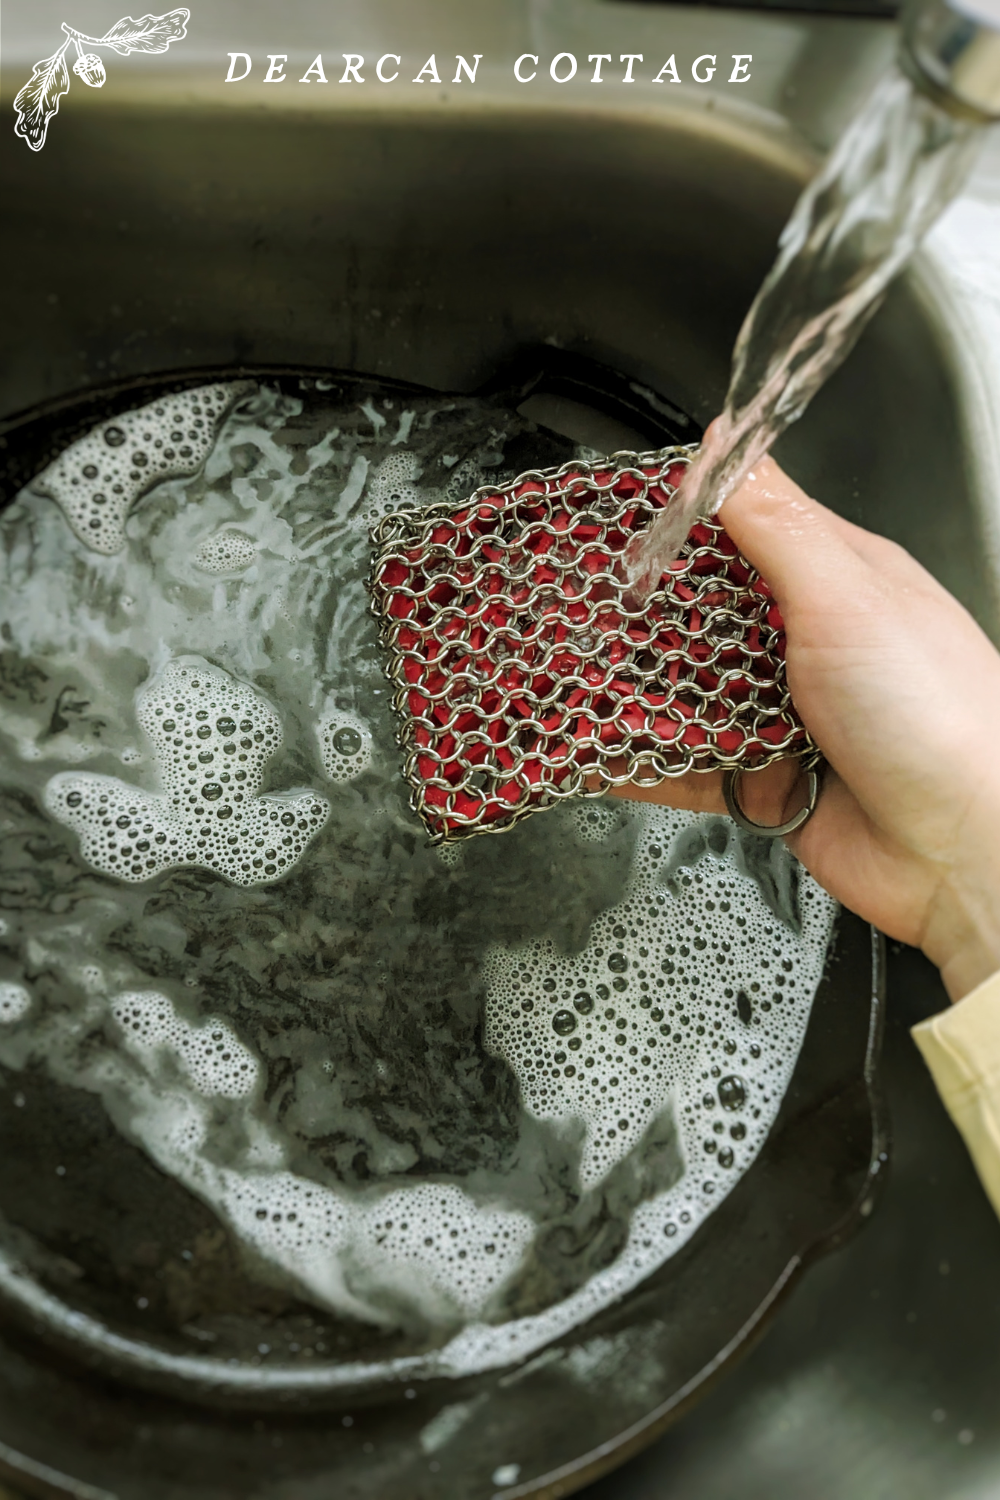
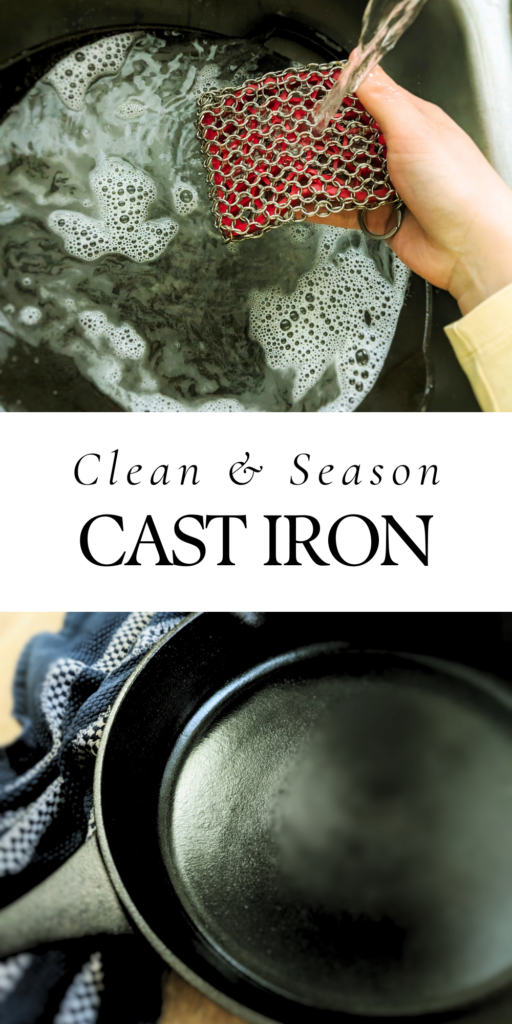
Most people today are okay with using a little natural soap, because it cleans former meal flavours away. Some prefer the salt method to maintain that unique flavour and seasoning. Avoid using abrasive scrubbers or harsh chemicals, as they can strip away the pan’s seasoning and add untastely flavour. I like to spot clean with my chainmail scrubber when food is particularly stuck on.
Step 2: Dealing with Stubborn Residue & Rust
Sometimes, food bits can be a bit stubborn and require a little extra effort to remove.
Sprinkle a good amount of course salt onto the pan to use as a gentle abrasive to lift off food. You can use a dry cloth to rub the salt around the pan. When done gently, it shouldn’t remove your seasoning. If you’re out camping, you can use course sand or dirt for the same effect.
You can also use chainmail designed for cast iron pans without losing too much of your seasoned surface, and it will last you a long time. I recommend having some chainmail in the event some rust does form. You can really scrub your pan with chainmail. Just season your pan in the oven (see step 6), to kiss and make up with your pan it if it’s looking rough.

Using water in a cast iron pan, set to medium on the stovetop, can help remove stubborn residues. By simmering at a low boil for a while and scraping lightly with a metal flipper. However this method, especially with any acidic sauces left in the pan, might eat away the seasoning. If you have to, it really works though! Just try to rinse off as much as you can before simmering water on the stove in your cast iron.
Reasoning Your Pan
It’s recommended to reseason your cast iron pan every few months or whenever you notice food starting to stick. Proper seasoning and cleaning not only enhances the flavour in your cast iron pan but it also prolongs its lifespan. (See Step 6)
Remember, the key to maintaining a well-seasoned cast iron pan is to clean it promptly after each use with warm running water and gentle scrubbing. Avoid harsh detergents and never put your cast iron pan in the dishwasher. With a little care and attention, your cast iron pan will continue to serve you well for years to come.
Drying and Storing Your Cast Iron Pan
Don’t skip this step, because after you’ve cleaned your cast iron pan, you need to make sure it’s completely dry! Neglecting to thoroughly dry your cast iron is how rust forms, which can eat away your pan’s quality and seasoning. There’s a simple and fast way to get it done, and I’ll tell you my favourite method for drying and storing cast iron cookware.
Step 3: Dry Your Pan After Washing
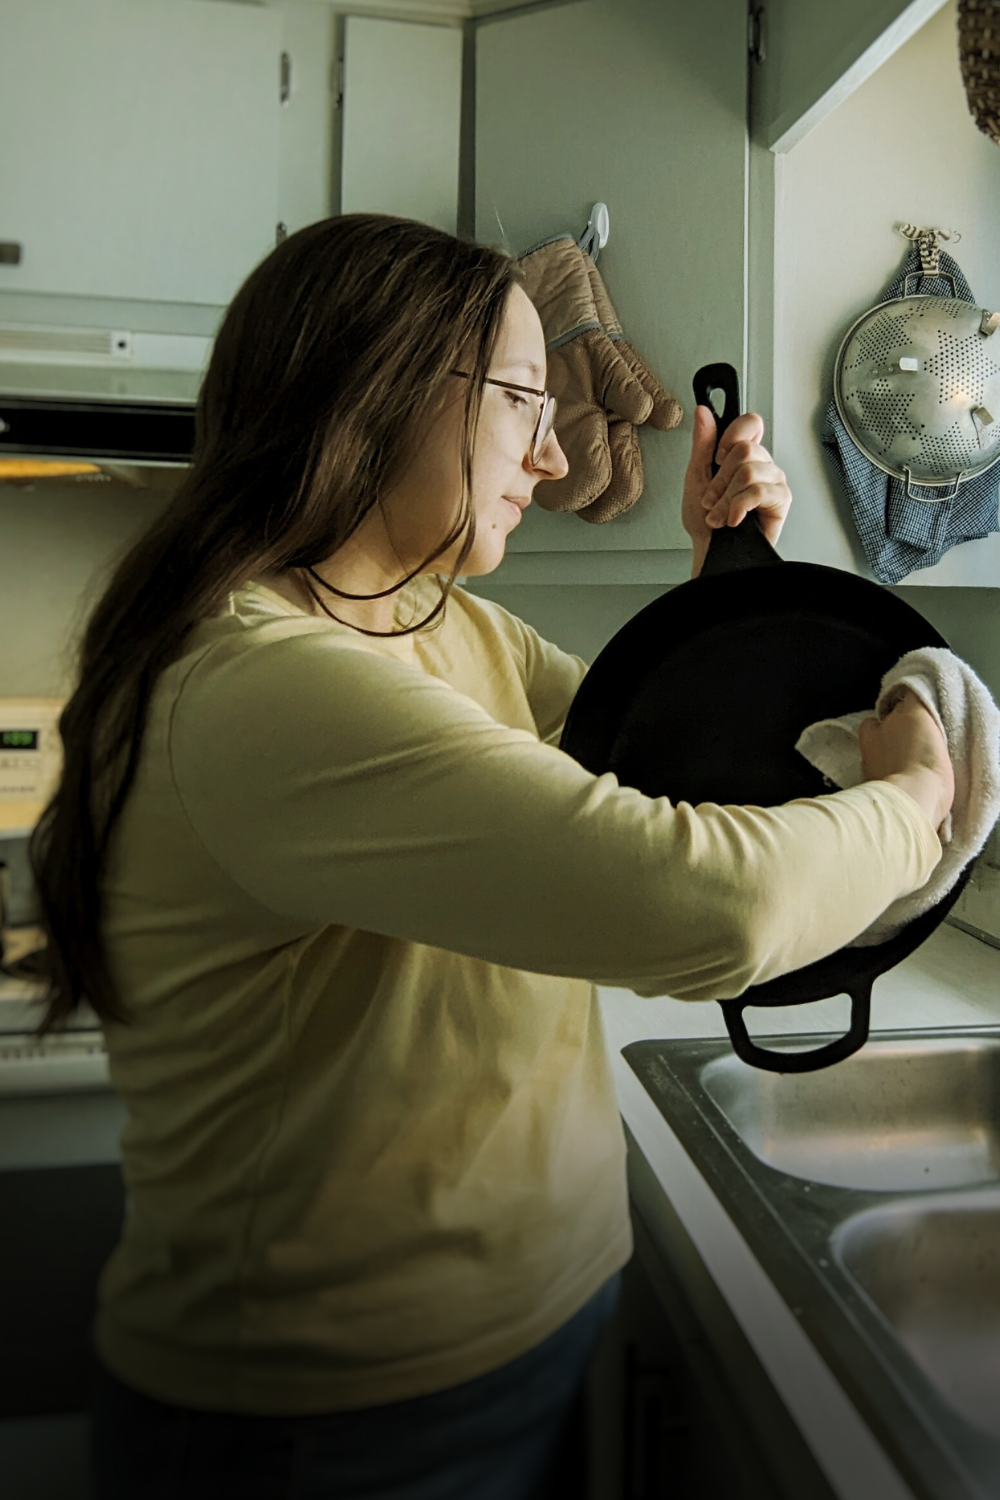
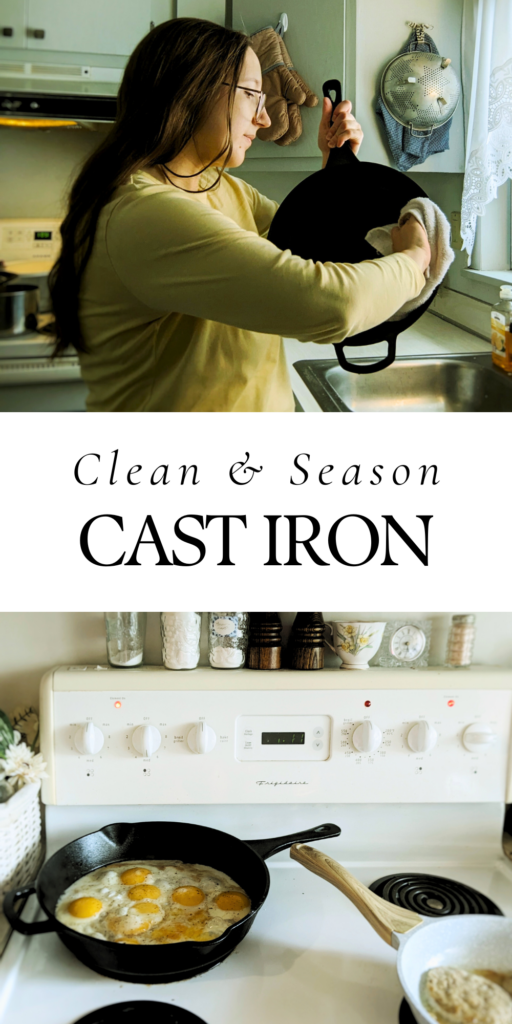
It is essential to thoroughly dry your cast iron pan after washing to prevent any sitting moisture which causes rust. I like to hold my cast iron by the long handle and rest it on the counter because it is heavy. Use a clean, dry cloth, and wipe down your pan to remove any excess water or oil. Make sure to get every surface and the corners where water might accumulate. I like to keep it snappy though. All I do is a quick towel dry, put the pan back on the stove, and turn the heat back on for a few minutes. It’s easy, and it get’s it bone dry within minutes, ensuring peace of mind! Then your pan needs another thin coat of oil and it’ll be ready for its next use!
Step 4: Storing Your Cast Iron
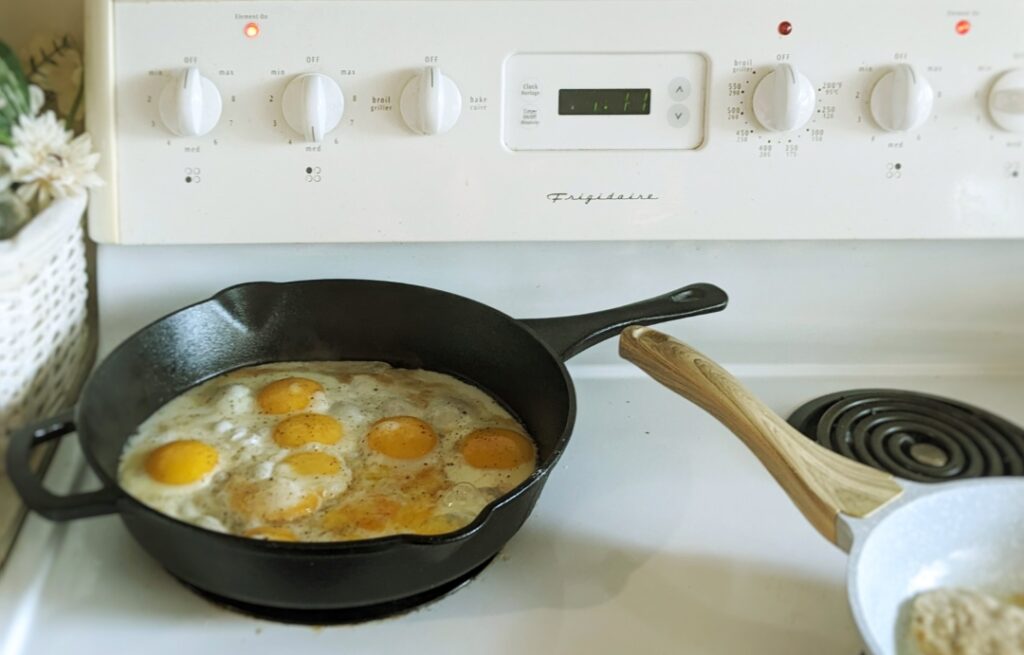
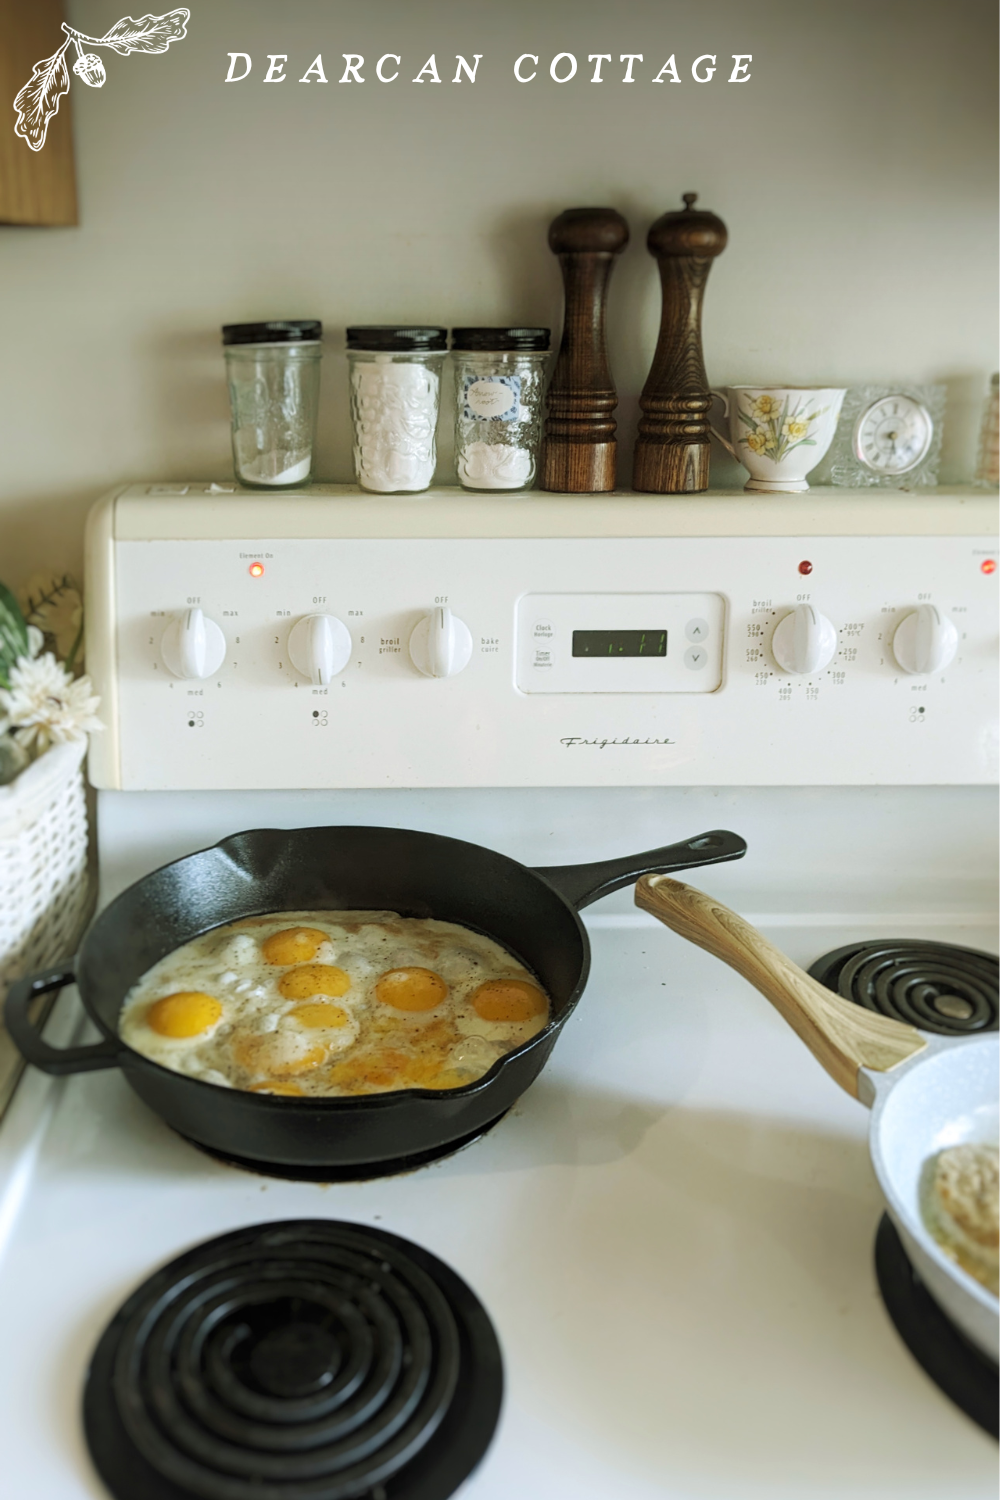
Storing can be tricky because you want to prevent moisture from sitting on your pans and rust forming. I would opt for an open shelf, a strong hook on the wall, where the pans have access to airflow. I prefer to let my cast iron live on my stove top, because I use it multiple times a day, and it’s a heavy piece of cookware to be lugging up and out of cabinets all day. It’s my favourite piece in my kitchen though, and it’s definitely earned its place to be displayed!
It doesn’t have to be complicated to dry and store your pan. Taking good care of your cast iron pan will extend the life of your cookware, giving you the benefits for years to come.
Seasoning Your Cast Iron Pan (From Regular Use)
Seasoning is a vital step in maintaining your cast iron pan’s non-stick surface and protecting it from rust. Let’s dive into the process of seasoning your cast iron pan to keep it in top condition.
Step 5: Baking to Seal the Seasoning
Baking your seasoning in can give you a tougher shiny finish, so doing this first with a new pan is important. Once the oil is applied, you’ll bake the pan to seal in the seasoning. Place the thinly oiled pan upside down in an oven preheated to around 375-400°F (190-200°C). Baking the pan helps create a non-stick layer that protects the surface while you are cooking. Bake the pan for 1 hour to ensure the seasoning fully sets. You can repeat the baking process, applying another thin coat of oil each time, until you’re satisfied with your non-stick finish. You only need to redo this step if you’re food is sticking to the pan and you notice your seasoning needs a touch up. Follow step 6 for an easy regular reseasoning routine.
Step 6: Applying Oil for Reseasoning
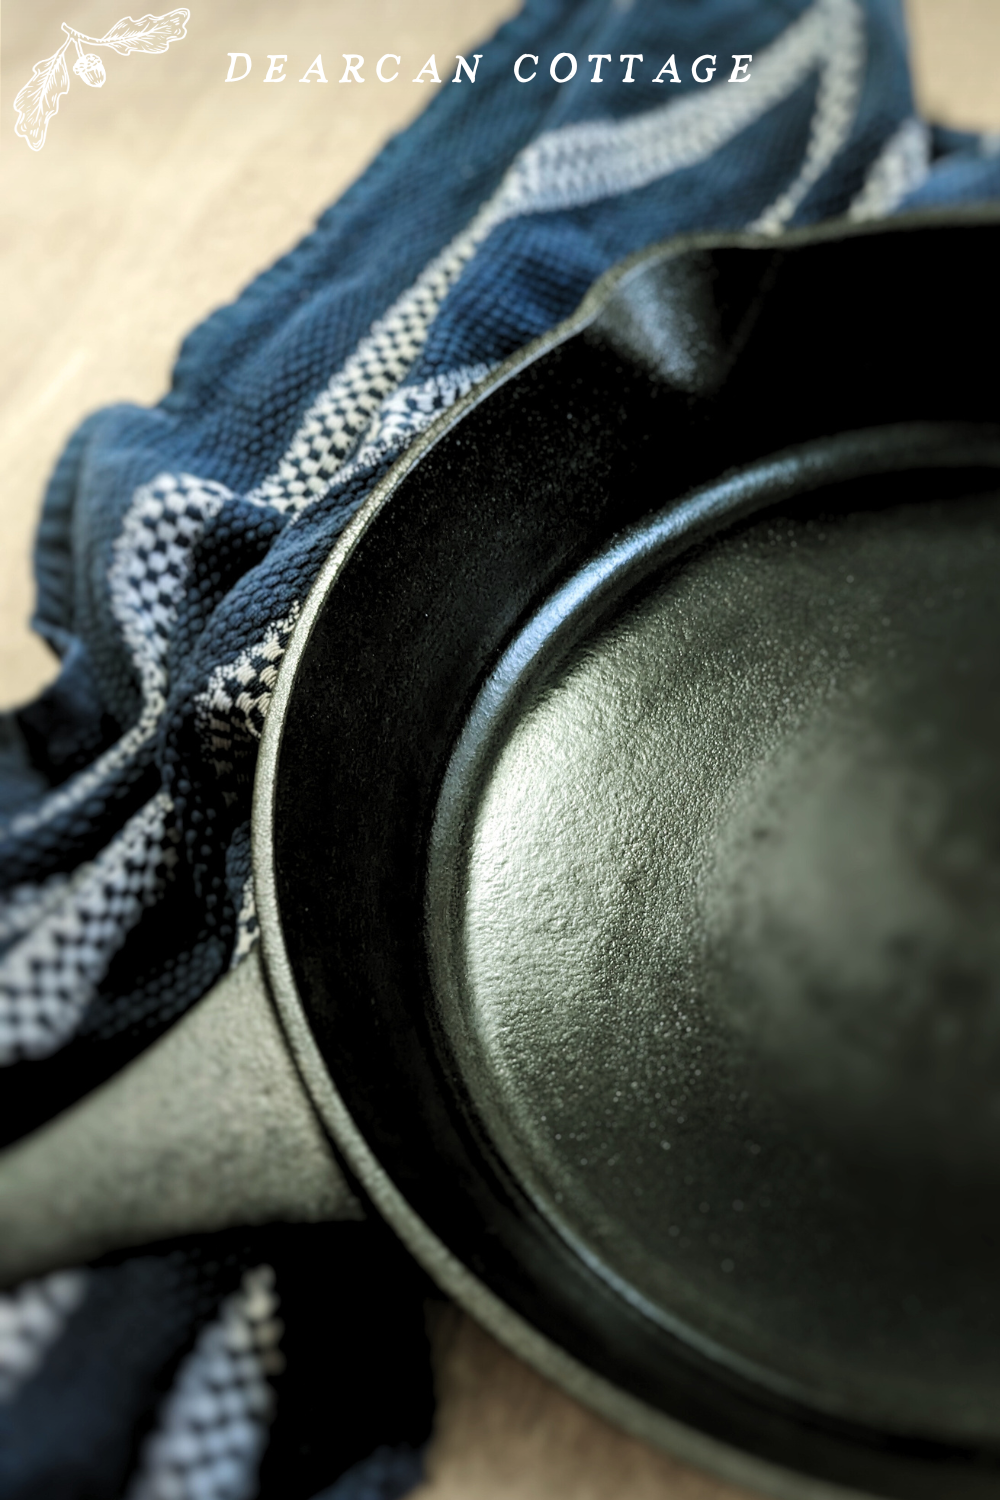
After each use, and you finished cleaning and drying your cast iron pan, it’s time to apply a thin layer of oil to the surface to reseason your cast iron. The type of oil you choose can impact the seasoning process, but also your health. I recommend using organic virgin coconut oil, cold-pressed avocado oil, or extra virgin olive oil. However, animal fats are far more effective and safer for frying at high temps. Animal fats such as tallow are excellent for filling the pours of your cast iron, not to mention give it the best healthy seasoned flavour. Make sure to spread the oil evenly and thinly across the pan, ensuring all surfaces are coated to season your cast iron pan.
Instructions For NEW Cast Iron Pans
If you have just bought a cast iron pan, maybe from thrifting or brand new from the store, you’ll want to follow these steps first.
Check for lead.
Unless your pan has a stamp on the bottom from a reputable company, you might just have an ill-tainted one. Unknown sourced pans could be laced with lead from poor production. It’s rare, but it can happen. A tell of potential lead in cast iron works is if it’s thinner. You can use this Instant Spray Lead Tester from amazon or directly from this small company here (not sponsored), to see if your cast iron cookware is safe to use. Using a lead-contaminated pan is not worth your health!
Clean & Scrub your pan thoroughly.
Whatever you do, just give it a thorough wash.
Easy (New Pans Or Clean Looking)
Some cast iron companies do a pre-seasoning treatment to their cookware, which not everyone likes, but it keeps it from rusting. You may wish to scrub off all that initial seasoning layer to start afresh. I personally think it’s fine to just use a little soap and get to using it.
Modify With Steel Wool
If you’re pan has layers of crust from open-fire use or rust, you can scrub it as with this harsh treatment with a metal steel wool grinder attached to a drill. This is great for getting a smooth finish in your pan, while also removing the rough cast surface.
Advanced Restoration
I’ve seen some restoring companies do a harsher lime soak, which is very caustic, after thrifting old cast iron pans. I suggest studying how the professionals do it, done at your own risk of course, or taking it to a restorer to have it done safely.
Season it!
The initial seasoning is longer than maintenance reseasoning. To season, first you’ll dry it thoroughly after washing, then rub a thin coat of oil all over the pan (even the bottom), and place it upside down in your oven. You will need to do this a few times in the day for that initial seasoning to build a non-stick finish. Reseasoning is after every time you use your cast iron, to maintain its non-stick shiny surface. Follow the steps 5 and 6 (above) for specific seasoning instructions.
Cast Iron Recipes You’ll Love
- How to Roast Chicken: Easy, Crispy and Juicy
- 8 Irresistible Egg-Free Sourdough Desserts When You’re In A Pinch
- Cast Iron Wonder: How To Bake A Dutch Baby, With Sourdough Discard (Family Favourite Recipe)
Summary
Cleaning and seasoning a cast iron pan doesn’t have to be a daunting task. With just a few simple steps, you can keep your cast iron pan in top-notch condition for years to come. Remember to always hand wash your pan, dry it thoroughly, and apply a thin layer of oil after each use to prevent rusting. Seasoning your cast iron pan regularly will not only enhance its non-stick properties but also add depth and flavour to your dishes. By following these easy maintenance tips, you’ll be able to enjoy the benefits of cooking with a beautifully seasoned cast iron pan for a lifetime. Happy cooking!
This page contains affiliate links, which means I may earn a small commission at no extra cost to you. As an Amazon Associate, I earn from qualifying purchases.