Would you like to learn how to confidently cut your boy’s hair at home just like a professional? Even if you’re a complete beginner, you can learn to cut your own kids’ hair. By the end of this post, you’ll be introduced to the skill of how to neatly cut your boys’ hair in the comfort of your own home.

This page contains affiliate links, which means I may earn a small commission at no extra cost to you. As an Amazon Associate, I earn from qualifying purchases.
You can absolutely cut your child’s hair. Understandably, it’s a nice thing to go to the salon and ask a professional for help. However, you have to think that this skill was something typically done at home not too many generations ago. I remember reading Patricia MacLachlan’s Sarah Plain and Tall Book, and how their family sat on the porch and gave their hair trimmings to the birds. It’s definitely the country way of getting things done, yourself, and really what better place is there to get your hair cut than at home?
Note About DIY Haircuts
When my husband and I were looking to save some money, we thought about cutting some recurring expenses. Gone went the subscriptions, cable, and fancy cellphone plans. Every time we dished out our money, we asked ourselves, “Is there some other way to get this cheaper?”. Then it was hair-cutting day. My brave husband was willing to risk a couple bad haircuts in order for me to learn how to cut his hair to reach our financial goals. After a year of haircuts, it became routine. Then we grew our family by three boys, and now I feel like an expert (at least for my family’s needs). I hope this inspires the next family willing to try and learn something new too.
Benefits of Cutting Your Boys’ Hair at Home
Cutting your boy’s hair at home comes with several advantages that make it a practical and just plain sensible thing to learn. It might be a humble process, but you can practice, just like the professionals do to learn this skill. The nice thing too is that hair will always grow back so you can try again to perfect your skills every few months.
Cost-Effectiveness
One of the key benefits of cutting your boys’ hair at home is the money you’ll save. Regular visits to the barber can quickly add up to $15-$40 each visit per person. Depending on how many heads you need to trim, investing in a good pair of scissors and an electric hair trimmer doesn’t sound like such bad idea. The equipment you’ll need will pay itself off quickly enough. Plus, with a little practice, you can achieve professional-looking results without the recurring price tag.
Convenience
It is convenient to have someone else, who’s already skilled, to cut your family’s hair, sure. However, I’d say it’s more convenient for busy families to have haircuts at home. By learning to cut your boy’s hair at home, you eliminate the need for scheduling appointments, getting everyone ready, travelling to the salon, and waiting in line. When you are the hairdresser, you have the flexibility to cut your child’s hair whenever it fits into your family’s schedule. I am very spontaneous with my boy’s haircut days. I’ve cut their hair before bedtime or squeezed it in before we head out somewhere. It’s so nice to not have to go by anyone else’s schedule but your own.

Essential Tools for Home Haircuts
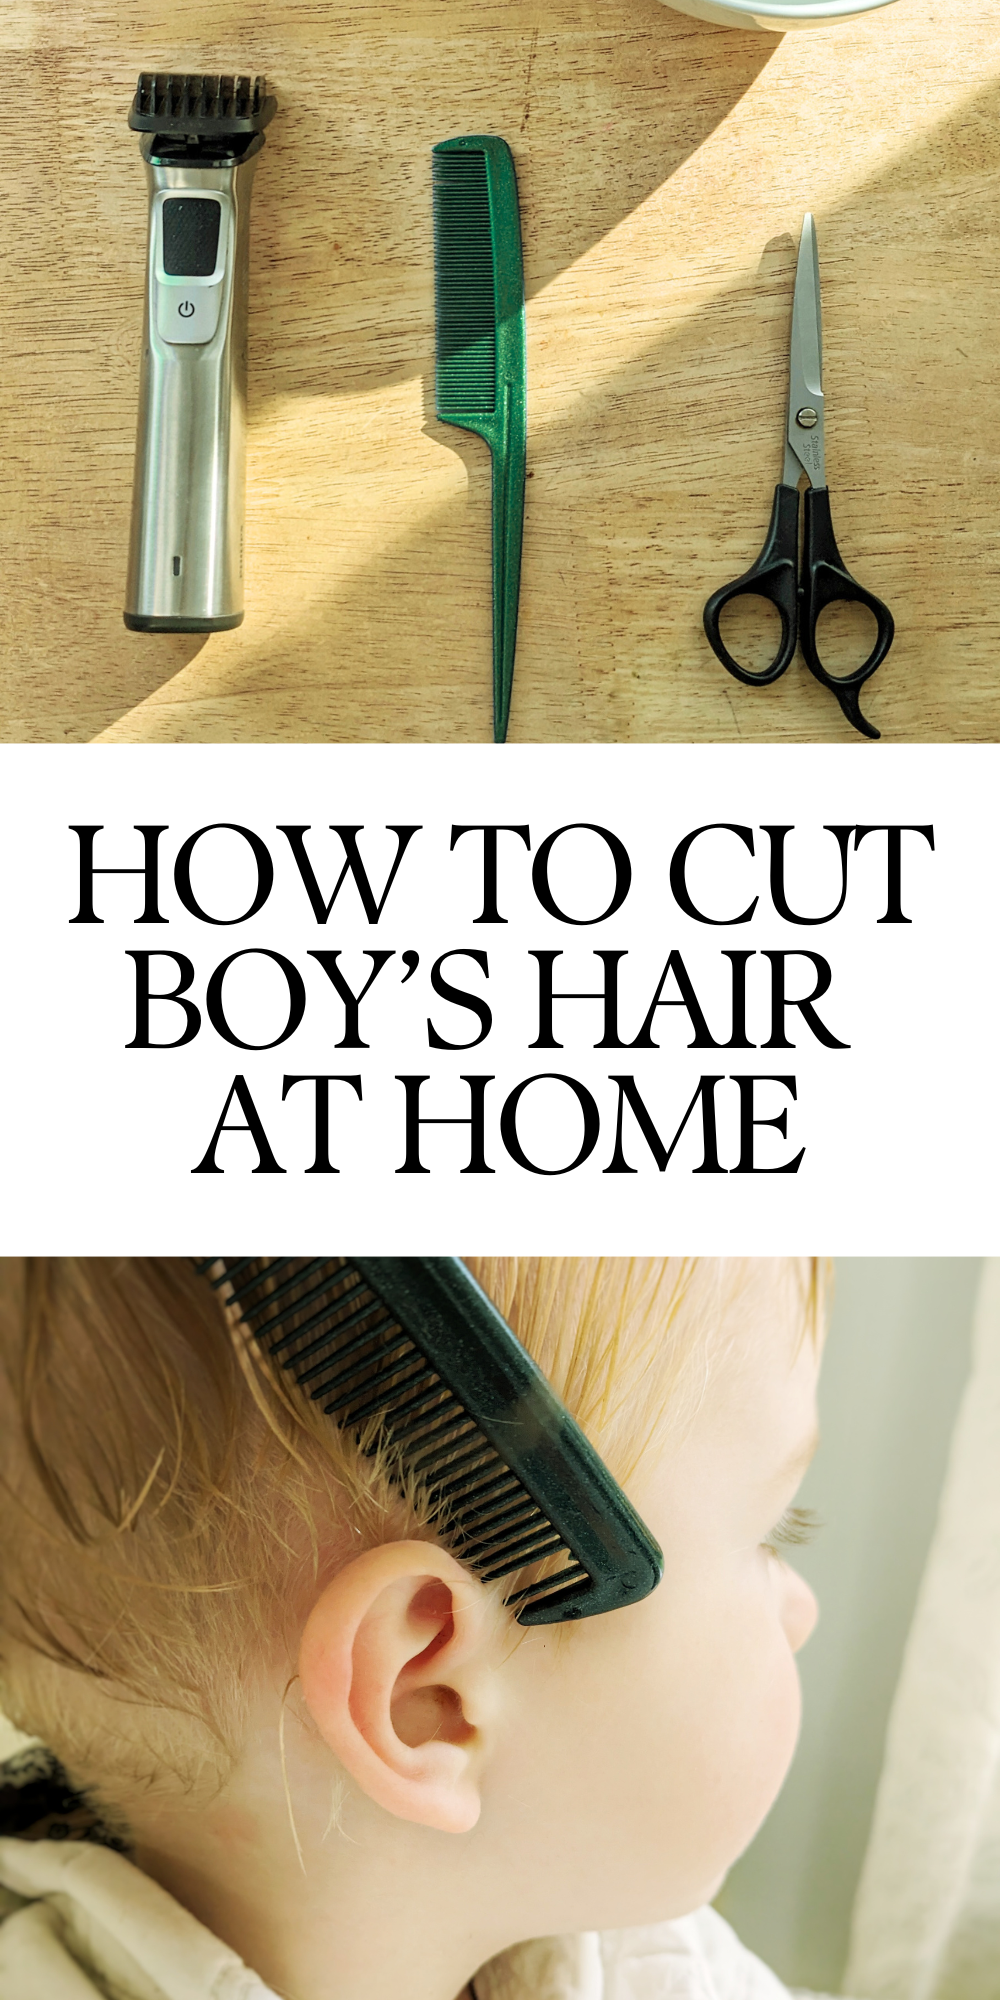
When it comes to cutting you boys’ hair at home, whether you’re aiming for a fade, buzz cut, or simply a trim, having the right tools and a little bit of patience is all you need for a successful haircut. Here are the must-have tools for a DIY home haircut:
- Electric Hair Trimmer (with guards)
- Hair Cutting Scissors / Sheers
- Comb
- Cape, Towel, Or Light Blanket
- Large Hair Clip
- Spray Bottle with Water (OR a bowl with water, OR under the tub faucet..)
- Broom & Dust Pan
- Chair (the high chair works too)

Prepare For Your At-Home Haircut
Before you start cutting your boy’s hair at home, you’ll want to prepare a few things to ensure everything goes smoothly. Here are the key preparation steps you should follow:
Charge Your Electric Trimmer
If you plan on using an electric trimmer, you’ll want to make sure your trimmer has had at least an hour to charge ahead of time. It not only lends to completing the haircut in a timely matter, but it will also keep everyone from getting impatient with the process.
Have Clean Dry Hair To Work With
Start by washing your child’s hair beforehand to remove any dirt, oil, or product buildup. Make sure their hair is tangle-free, and completely dry before cutting with your electric hair trimmer. If you are only using scissors on your child’s hair, then lightly damp hair will be great.
Wear Something That Can Get Messy
Cutting hair is a messy process. So if you plan on wearing your nice clothes all day, and don’t want sharp haircuttings all over your socks and clothes, you might want to find something you can work in for this activity. After you can just shake out clothes outside and run them through the wash to get the last bits.
Set Up Your Work Station
Get everything you need in one place. You don’t want to have hair on your socks and run through the house to find one extra thing. I suggest having a hair-cutting caddy, that way everything is ready for you when you’re ready to cut hair next.

Basic Haircut Using Electric Trimmers
When it comes to cutting boys’ hair at home, understanding basic haircut techniques is where to start when looking to achieve a well-groomed look. Let’s dive into the essential techniques you need to know:
Basic Buzz Haircut
For a short buzz cut, start at the nape of the neck at the back of your child’s head, and work your way to the crown. The crown is an oval-shape area, at the top of the head, starting from the front hairline to often the natural swirl in the back of the head. Using the right guard length (9mm is the shortest we like to go) glide the clippers up through the hair.

When you finish the back and sides around the ears, determine where the crown line is and cut along the crown’s edge to define it, still using the guard of course. After that, you could either change guards to the longest guard you have (like 16mm), and buzz cut the crown, or you can snip the rest with scissors.
Using Trimmer for Fade
Electric trimmers are the tool for achieving a fade at home. You can buy angled guards that help you fade. If you’d like to freehand a basic fade, start by selecting the smallest guard size you would like to start your fade with. Begin at the nape of the neck and work your way up to the occipital bone (about the first bottom half between the nape and crown), using an upward C motion with the trimmers, and slowly pulling the trimmer away from the head to blend. Trim all the way to just an inch above the ears. Use a larger guard for the remainder area to the crown. Remember to blend the different guard sizes seamlessly, and take your time, for a polished finish.
Tips:
- When the hair starts to gather a bit, lift the trimmer away from the head and let the hair fall off the trimmer to the ground. You can give it a tap on the table, or into the sink, to help it fall away. This technique will keep the razor part clear and prevent jamming. You could dust the hair off with a small bristle brush every so often too.
- You want to go a slow and steady pace to prevent pulling hair.
- Make sure you trim in different directions to catch hair growing in different directions.

Cutting Hair with Scissors and Sheers
All you need to start cutting with scissors is to have a good set of sheers and damp hair to work on. You don’t want the hair to be dripping wet, but you need it to be wet enough to go limp. When using scissors, hold the hair between your fingers and trim carefully to avoid cutting too much at once. Start by trimming the ends and work your way towards the desired length. The more you familiarize with cutting hair you’ll know how to gauge what works best for your child.
Blending and Layering
Blending and layering are help make your seamless and natural-looking haircut. To blend different lengths smoothly, use a comb to transition between sections and avoid any harsh lines. Move the hair from side to side to see how it’s blending well. Use the neighbouring cut hairs to measure the rest at the same height. You should be turning your “finger guard” in any direction and you’ll start to see where there’s something was missed.
Tips:
- You can use your fingers as a guard measurement. I prefer to use this for my son who has thick straight hair, but a buzz cut would be too short on him. You get just a little bit more length on the crown to use your fingers as the guard over the clippers which I like.
- A Crew Cut is when you leave the front of the hair longer than the height of the rest of the crown.
- If you are without electricity, using a comb (or double comb) as a guard, and just your scissors could get the job done.
Notes About Different Hair Types And Ages
Do whatever suits your child’s preferences and hair type best. Certain haircuts might not suit your child’s hair type or face. I’ve had to learn the hard way that each of my children looks better with different hair lengths, even at different ages.
Babies
Babies can typically get away with a little longer hair, especially if it’s fine and there’s not a lot there. You don’t have to break your heart and clip off all those baby curls if you don’t want to. I’d only cut a baby’s fine hair with scissors in small increments. If your baby has lots of hair, and you plan to keep it a little long, you might want to get a blending set of sheers, they look like they have a comb on one arm of the scissors. That can make it a bit cooler and less heavy on the head.
Curly Hair
Curly hair is surprising because you think you are only cutting an inch but it shrinks closer to the head and it looks too short! So cut less on a curly-haired child, unless short is the goal. Because curls are springy, slide the hair between your fingers to straighten the curl to the ends. Make sure to blend the neighbouring hairs well, comparing on all sides.
Who’s Next?
If there’s an older kid in your life who has a lot to say about their haircut, maybe a teen or your spouse, take your time to learn what they like. Stand in front of the mirror and take your time each step of the way. Should you try going higher on their back neckline? How long should the top be? Where do you feel your crown starts and should stop (especially in the front)? How do you plan on styling it? What do you want it to look like with or without product? What about the inner ears, sideburns, and brows? Do they want help with their beard? Determine what they would love, and make it an experience about serving them and one for the memories.
Final Touches
Once the main haircut is complete, it’s time for the final touches. You have made it this far, and it will be a sinch, as long as your child isn’t begging to leave the chair already.
Cleaning Up and Checking for Symmetry
First, take a moment to clean up any stray hairs. Use a small pair of scissors or a trimmer to carefully tidy up around the face, neck, and ears for a clean and sharp finish. Pay close attention to symmetry, making sure both sides of the haircut match evenly to avoid any lopsidedness.
Tips:
- It’s helpful to comb through the hair to spot any missed hairs, or uneven sections that may need further trimming.
- Taking a step back to check for symmetry can help too.
- Use the Trimmer without a guard and trim close around the face, ears, down behind the ears, and the back neckline.
- When defining sharp lines around the neckline, cut in small incremental millimetres. If you feel like you could go shorter on the back, try envisioning by holding up the comb where you think it should be, and work your way towards it.

Ensuring A Good Haircut Time
You know your kids best, and what they’ll need to make your boy’s haircut time an enjoyable smooth experience. Here are a few tips to get you going so no one has a bad hair day.
Keeping Tools Clean and Sharp
Before starting, make sure your scissors or trimmer are cleaned from debris. Regularly clean them with a bristle brush and clean put any hair build-up in the razor head. Additionally, having sharp, precise scissors will reduce the risk of hair pulling and accidents. So invest in a good pair of sheers, and replace them in a few years when they get dull. There are scissor sharpening services if you can find them locally.
Communication and Treats
Talk to your boy before and during the haircut to ensure they are comfortable and at ease. Explain each step of the process in a reassuring tone. As they get older, you can ask for feedback and what they prefer. Keep things easy and calm, not rushed or pushed, for a more positive experience. I do like to give my kids a little treat after they have their haircuts for something to look forward to at the end.
Tips:
- Communicate with your child to touch their chin to their chest when working in the back of their head, and touch their ear to their shoulder when working near the opposing ear. This way you’ll have lots of room to work with.
- Using a little humour can lighten the stress of the loud trimmers near their ears. I like to make my boys laugh by comparing the trimmer to a gliding lawn mower, which they think is hilarious and less intimidating.
Handling Accidental Cuts
Accidents can happen, especially when you’re just learning with wiggly kiddos. Stay calm if a small cut occurs or hair was pulled, quickly attend to it. If your child is distrusting the process, you might need to wrap up what you are doing and finish touching up at a later time. Remember, accidents are part of the learning process, and handling them with care and composure will help maintain your child’s composure as well.
Tips: Whenever someone gets a bump or hurt, we hand out freezies in our house. There’s something really soothing and fun about a cold treat (and lots of kisses and tickles do the trick too!)

Cleaning Up After Your At-Home Haircut
When everything is all finished up, and your child is brushed off and given a treat, it’s time to clean up.
- Get your broom and dustpan, and sweep off your chair, the surrounding area all the way to the walls and corners.
- Take the cape and shake it outside, and change your clothes and footwear.
- Put everything in the wash and dryer if you notice little bits of hair on your clothes.
- If your child has lots of little trimmings all over him, a quick rinse in the tub and some new clothes might be in order.
- If you have any wet hair sticking to the floor, you can use a dry washcloth to gather everything, then shake it outside and throw it through the wash too.
Saving Locks Of Hair
If this was your baby’s first haircut, you might want to save a lock of hair for a memory keepsake. I like to keep these locks in a special Child Memory Book and tape an envelope in them to peek inside from time to time. It’s interesting to see how much our children’s hair changes over time, and just how soft it is when their little.
Parting Words
Now that you’ve been introduced to cutting your boys’ hair at home, without a professional standing by, you might just want to start your own in-house salon for your friends and family! Not once did we bring up bowl haircuts, and I guarantee your friends would be surprised to know you cut your kids hair at home. You don’t have to go to the salon and pay an arm and a leg to get your kids hair looking nice. Remember to use sharp scissors, get good trimmers, go slow, and communicate with your child throughout the process. With a little practice and patience, and maybe a bowl of candy, you’ll become a pro at DIY haircuts in no time. So grab those scissors and start snipping away confidently!
Shop This Post
I’ll get out of your hair, but first here are the hair-cutting tools you need to cut your kid’s hair at home! I have the old version of this trimmer and we love it. Just a reminder: This page contains affiliate links, which means I may earn a small commission at no extra cost to you. As an Amazon Associate, I earn from qualifying purchases.
Philips All-in-One Electric Trimmer
Professional Hairdressing Scissors Set